

By Victoria Healthcare08 Tháng 4 2026
CŨNG LÀ BẠN - NHƯNG KHÁC NHAU Ở MỘT QUYẾT ĐỊNH: KHÁM...
- Luôn bận rộn
- Ngại đi khám vì chưa thấy gì nghiêm trọng
- Nghĩ rằng vẫn còn thời gian
Nhưng thực tế là:...

Cung cấp dich vụ chăm sóc sức khỏe cá nhân, doanh nghiệp toàn diện cùng các tiện ích hỗ trợ.

Đội ngũ Bác sĩ thường xuyên tu nghiệp tại nước ngoài, tay nghề cao, kinh nghiệm làm việc lâu năm.

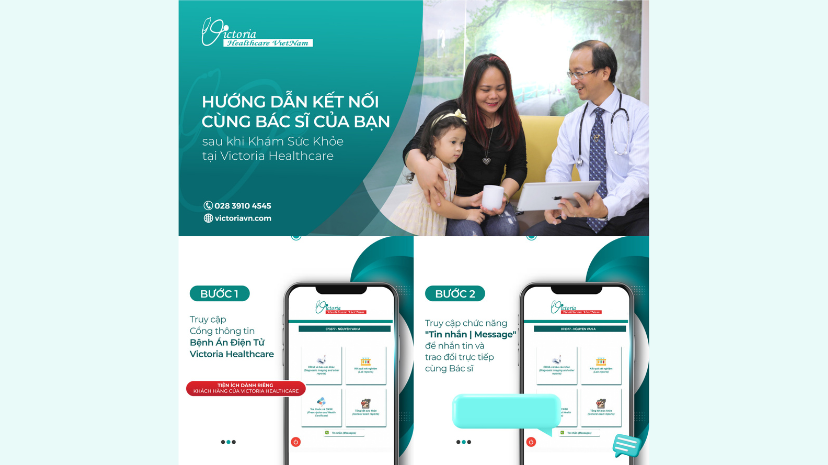
Bệnh nhân có thể xem và lưu kết quả bệnh án đồng thời nhờ Bác sĩ điều trị tư vấn trực tuyến.

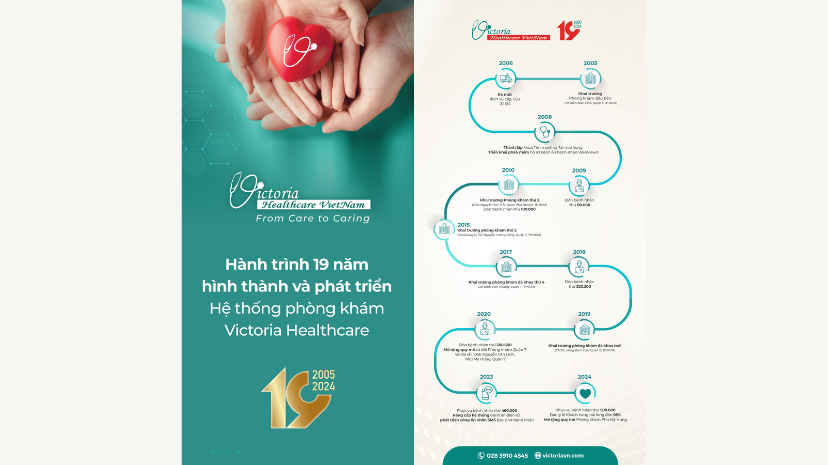
Cập nhật chuỗi các sự kiện nổi bật và các tin tức của Victoria Healthcare.


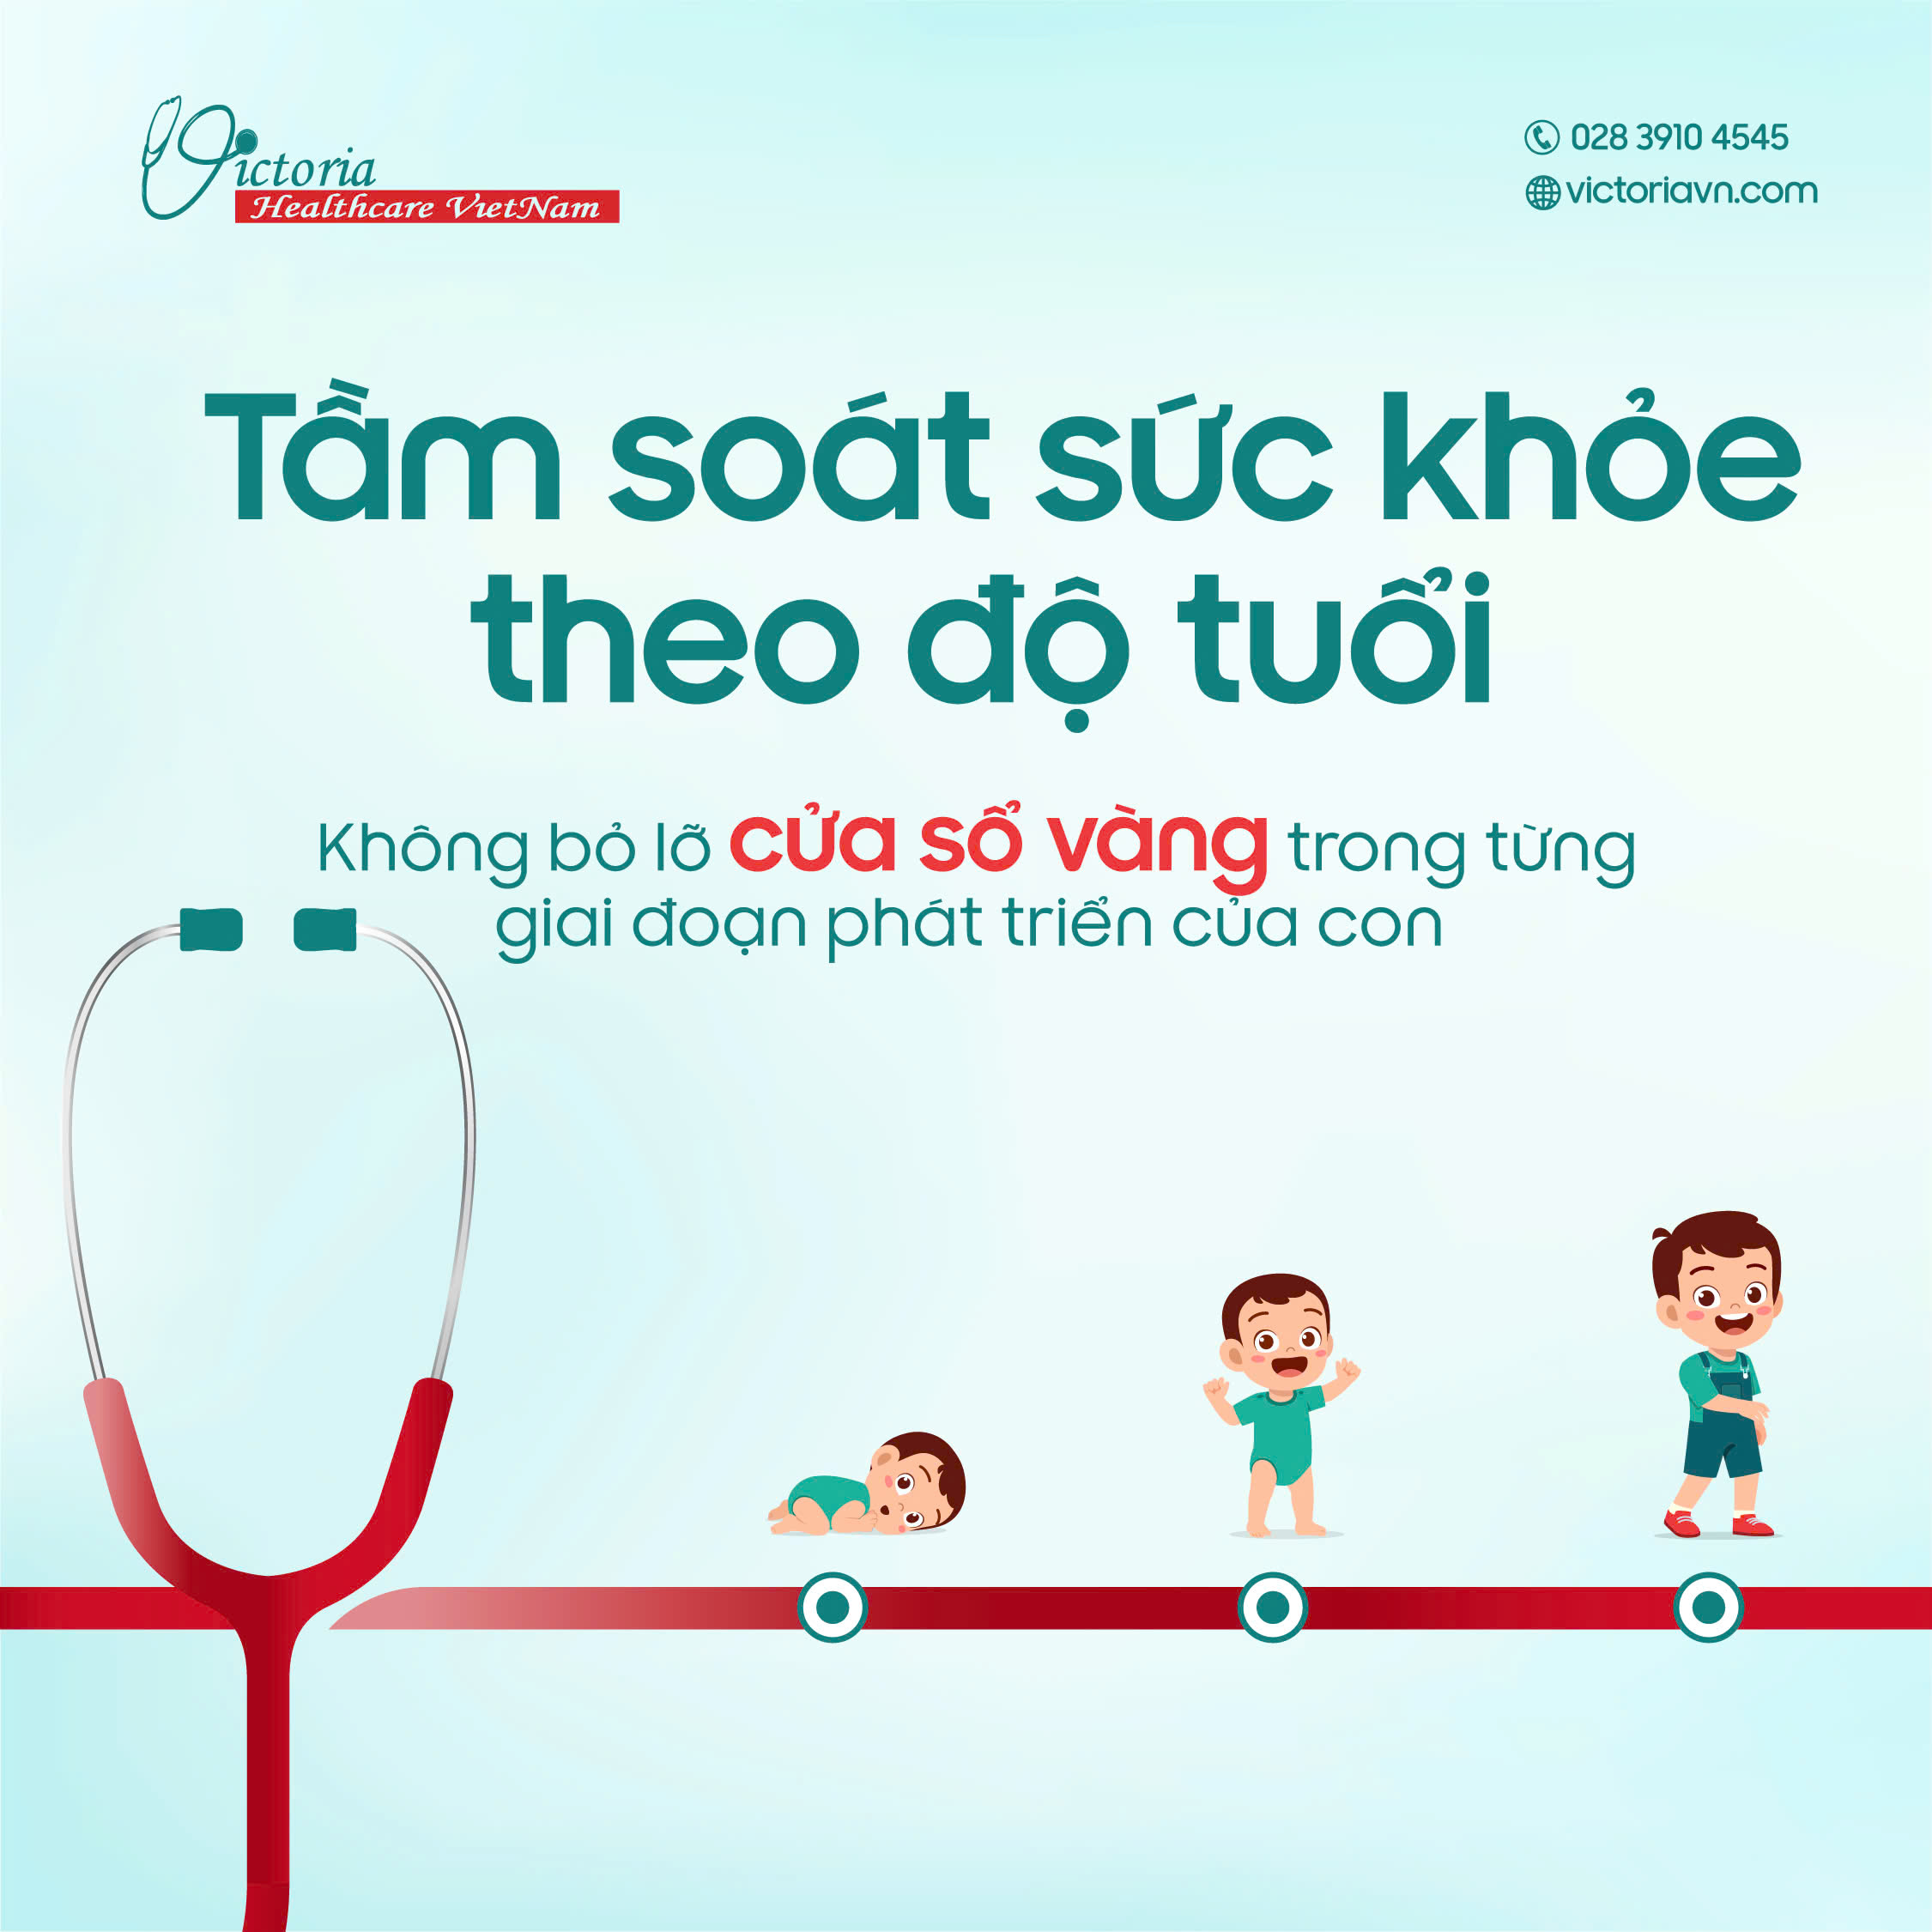
Khám sức khỏe định kỳ cho trẻ được xây dựng dựa trên nguyên tắc: mỗi mốc tuổi đều có những hạng mục tầm soát riêng, phù hợp với sự phát triển thể chất và tâm lý. Theo khuyến cáo mới nhất của Hiệp hội Nhi khoa Hoa Kỳ (AAP) và Tổ chức Y tế Thế giới (WHO), việc tuân thủ lịch khám giúp phát hiện sớm các vấn đề quan trọng, đồng thời hỗ trợ phụ huynh điều chỉnh chế độ dinh dưỡng, giấc ngủ, vận động và sức khỏe tinh thần để trẻ phát triển toàn diện.
Trong nhi khoa, “cửa sổ vàng” được định nghĩa là những giai đoạn phát triển ngắn, khi việc tầm soát và can thiệp sớm mang lại hiệu quả cao nhất. Nếu bỏ lỡ, cơ hội điều trị tối ưu thường giảm đi đáng kể. Chính vì vậy, ngày càng nhiều phụ huynh chủ động đưa trẻ đi khám từ những tháng đầu đời, biến khái niệm y học này thành một phần thiết yếu trong chăm sóc sức khỏe hằng ngày.
Các nghiên cứu quốc tế cho thấy 80% dị tật tim bẩm sinh nguy hiểm có thể được phát hiện trong năm đầu đời nếu tầm soát đúng, can thiệp rối loạn phát triển trước ba tuổi cải thiện đến 90% khả năng giao tiếp, và 1% trẻ em trong độ tuổi đi học có vấn đề về thị lực chưa được nhận diện kịp thời, ảnh hưởng trực tiếp đến kết quả học tập.
Trong năm đầu tiên, sự phát triển của trẻ diễn ra nhanh chóng và cần được theo dõi sát sao. Ở giai đoạn này, khám định kỳ tập trung vào giám sát cân nặng, chiều cao, vòng đầu, đồng thời quan sát các mốc vận động như lẫy, bò, ngồi.
Tại Victoria, các chỉ số tăng trưởng được nhập vào phần mềm để vẽ biểu đồ theo dõi liên tục. Nhờ vậy, bác sĩ không chỉ nhìn vào một con số tại một thời điểm, mà đánh giá được xu hướng phát triển của trẻ trong cả quá trình. Đây là điểm khác biệt giúp phát hiện sớm tình trạng chậm tăng cân, suy dinh dưỡng hoặc tăng cân quá nhanh để có kế hoạch can thiệp kịp thời.
Ngoài ra, khi trẻ bắt đầu ăn dặm, nguy cơ thiếu máu thiếu sắt được bác sĩ đánh giá dựa trên chế độ ăn và yếu tố nguy cơ. Xét nghiệm chỉ được chỉ định khi thật sự cần thiết, nhằm tránh lạm dụng không cần thiết.

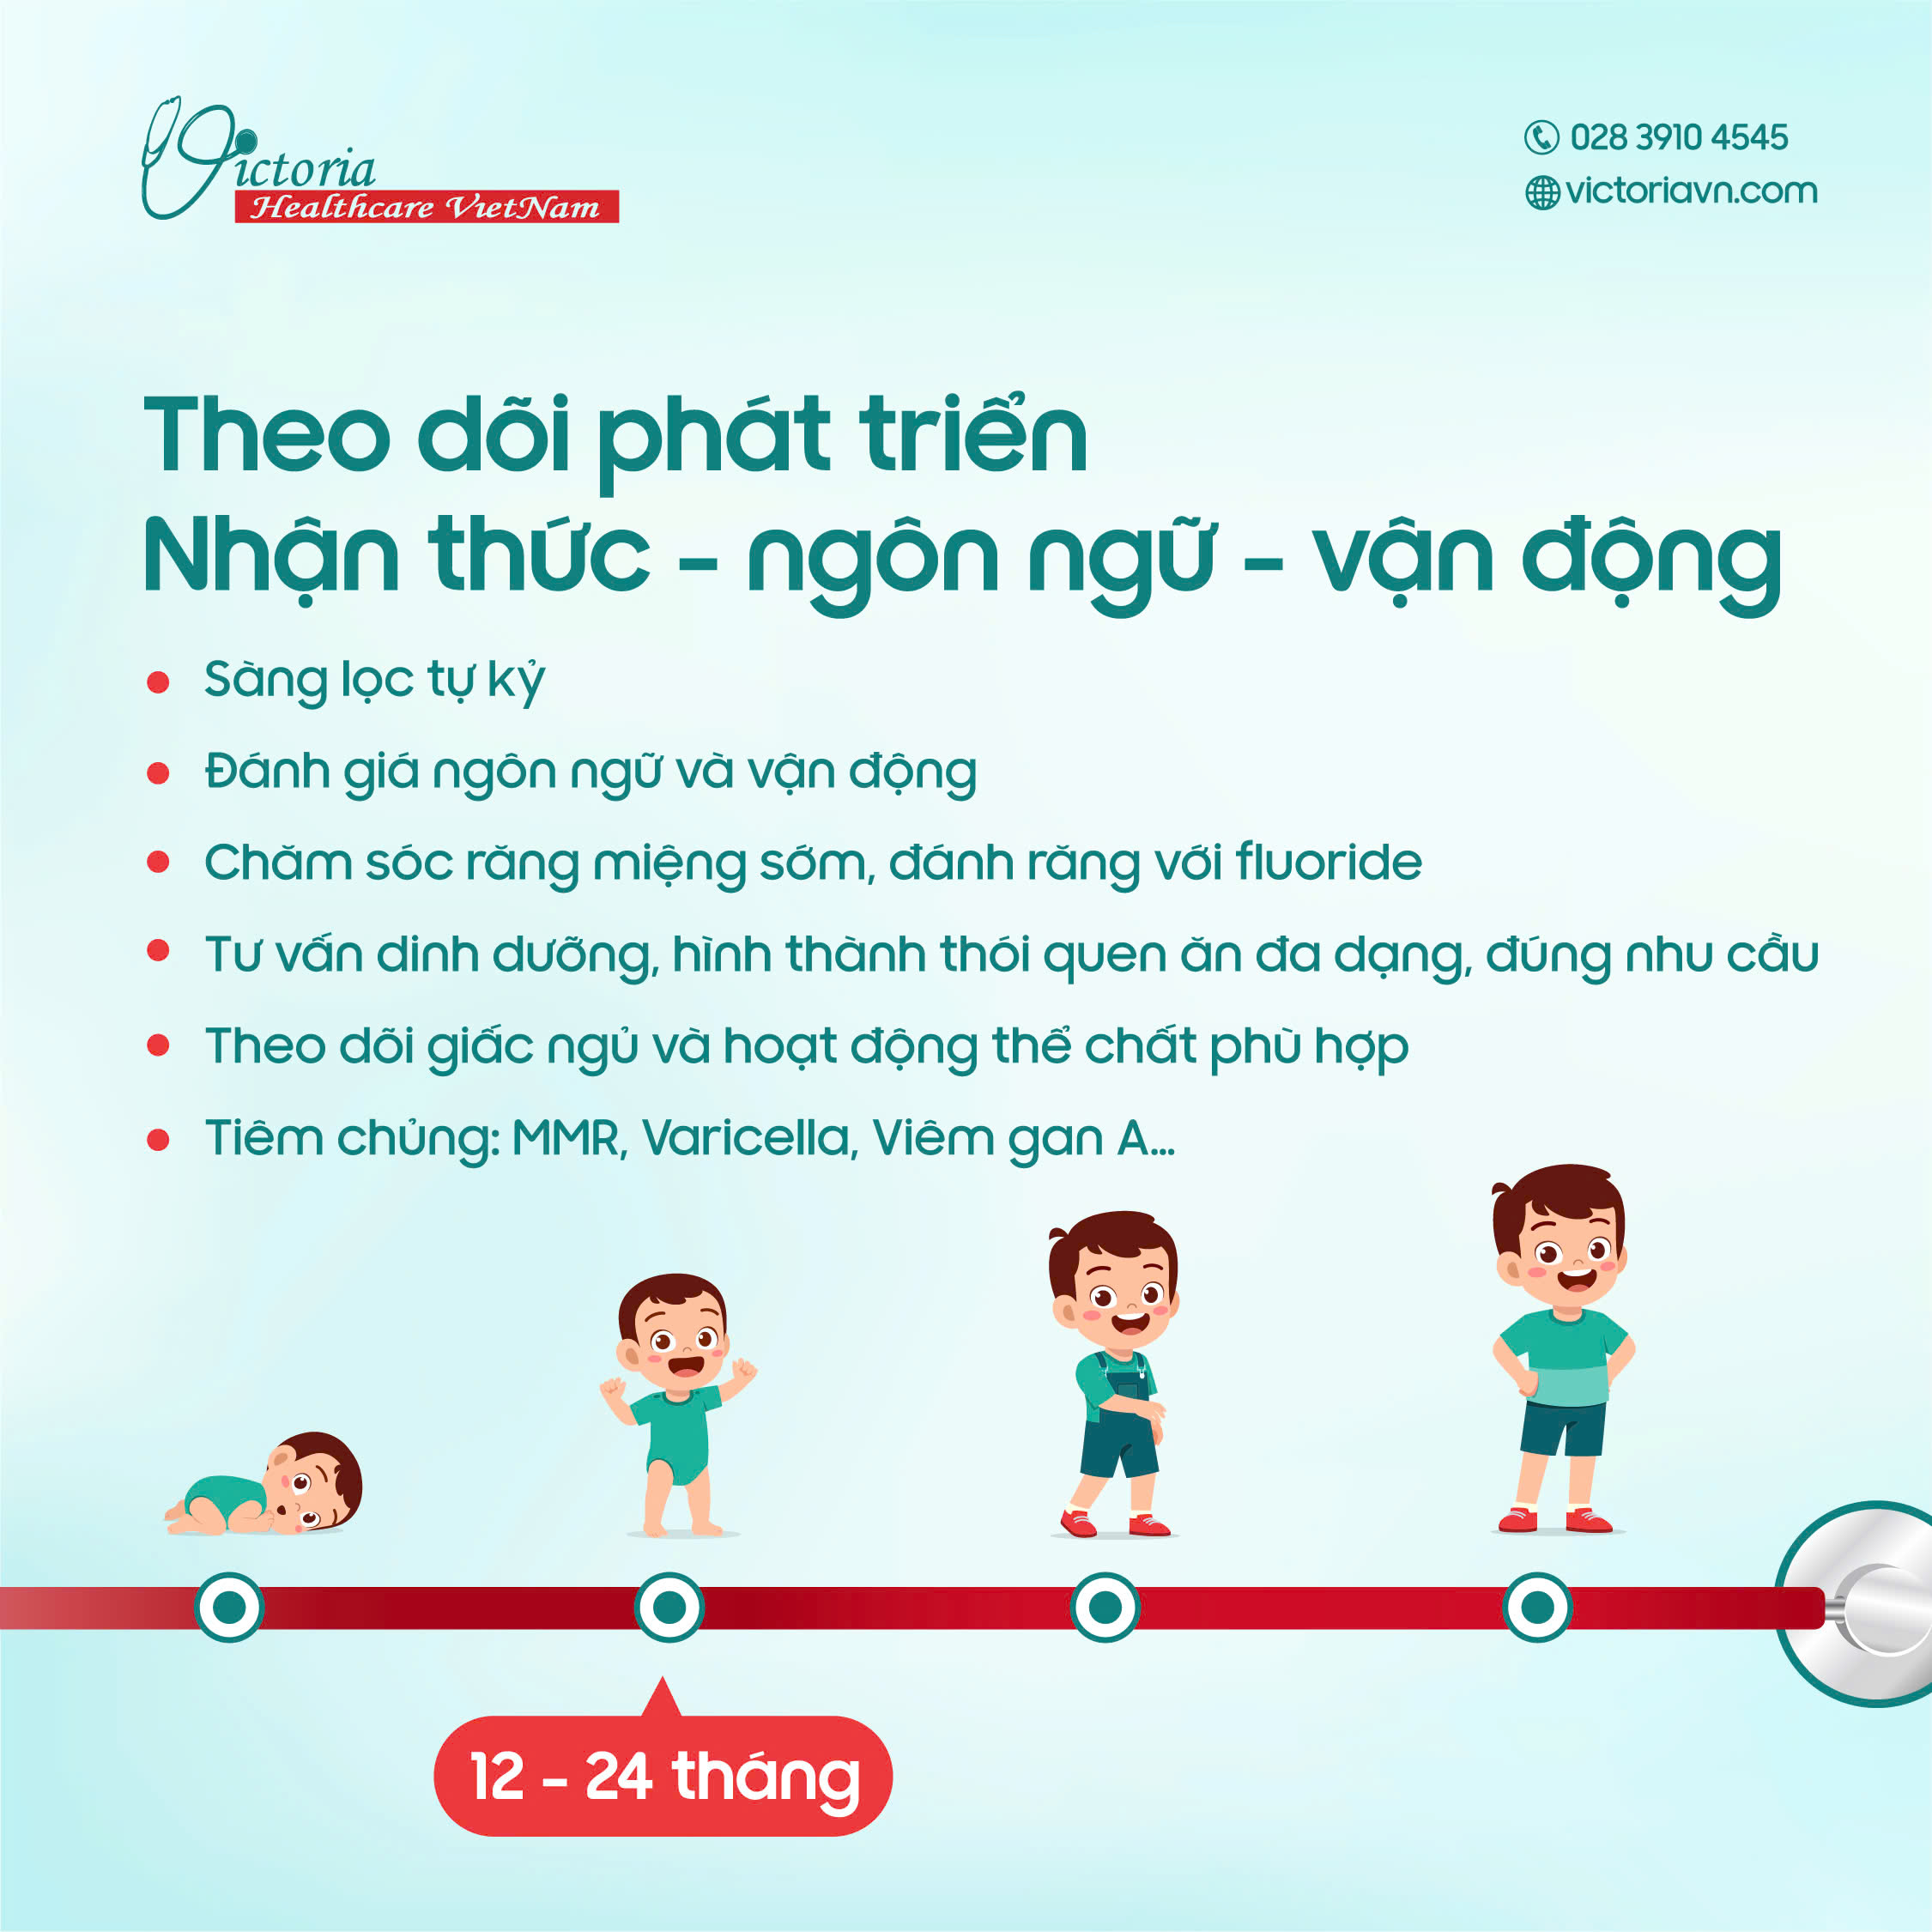
Đây là giai đoạn não bộ bùng nổ về ngôn ngữ và hành vi. Hiệp hội Nhi khoa Hoa Kỳ khuyến cáo nên tầm soát tự kỷ ở mốc 18 và 24 tháng. Điều này không nhằm gắn nhãn cho trẻ mà để có thể can thiệp sớm nếu xuất hiện các dấu hiệu như ít đáp lại khi được gọi tên, chưa biết giao tiếp hoặc ít bắt chước. Can thiệp trước ba tuổi giúp phần lớn trẻ cải thiện đáng kể khả năng hòa nhập.
Đây cũng là thời điểm phù hợp để bắt đầu chăm sóc răng miệng. Sâu răng sớm có thể ảnh hưởng đến giấc ngủ, dinh dưỡng và phát âm. Do đó đánh răng với fluoride) như khuyến nghị của USPSTF nên được thực hiện. Xét nghiệm máu để kiểm tra thiếu máu thiếu sắt (tại Victoria bắt đầu bằng việc đánh giá trước chế độ ăn để xác định nguy cơ thiếu sắt) ở mốc 12 tháng là bước quan trọng để hoàn thiện bức tranh sức khỏe.
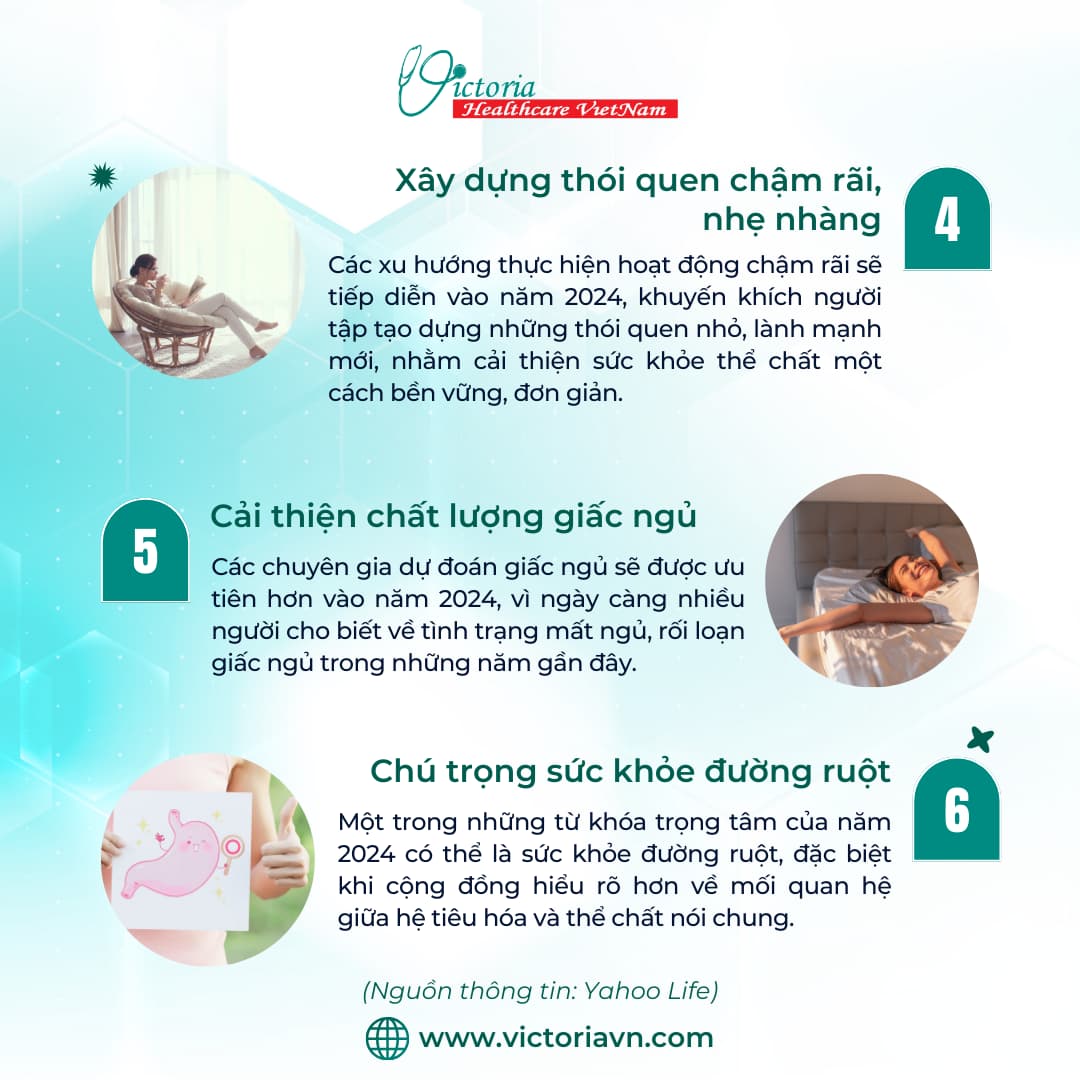
Ở giai đoạn này, cha mẹ cũng cần chú ý chất lượng giấc ngủ, khuyến khích trẻ vận động ngoài trời ít nhất 1 giờ mỗi ngày và xây dựng chế độ ăn cân bằng nhằm hỗ trợ sự phát triển toàn diện.
Khi bước vào tuổi mẫu giáo và tiểu học, trẻ bắt đầu hình thành thói quen sinh hoạt gắn liền với việc học tập. Đây cũng là giai đoạn nhiều vấn đề sức khỏe tiềm ẩn dễ xuất hiện nếu không được theo dõi định kỳ.
Tại Victoria, trọng tâm ở giai đoạn này là theo dõi sự tăng trưởng về cân nặng, chiều cao, BMI, kết hợp với đo huyết áp từ 3 tuổi để phát hiện sớm tình trạng tăng huyết áp. Cột sống được kiểm tra nhằm nhận diện sớm cong vẹo, vốn có thể tiến triển nhanh ở trẻ thường ngồi sai tư thế hoặc mang cặp quá nặng. Khám răng miệng định kỳ giúp hạn chế nguy cơ sâu răng, một vấn đề chiếm tỉ lệ rất cao trong lứa tuổi học đường. Ngoài ra, xét nghiệm lipid máu được cân nhắc trong nhóm trẻ từ 9-11 tuổi có yếu tố nguy cơ, nhằm đánh giá sớm nguy cơ rối loạn chuyển hóa.
Song song với các thăm khám, phụ huynh được tư vấn về dinh dưỡng, giấc ngủ và hoạt động thể chất phù hợp từng độ tuổi, giúp trẻ duy trì nền tảng phát triển thể chất và tinh thần bền vững.

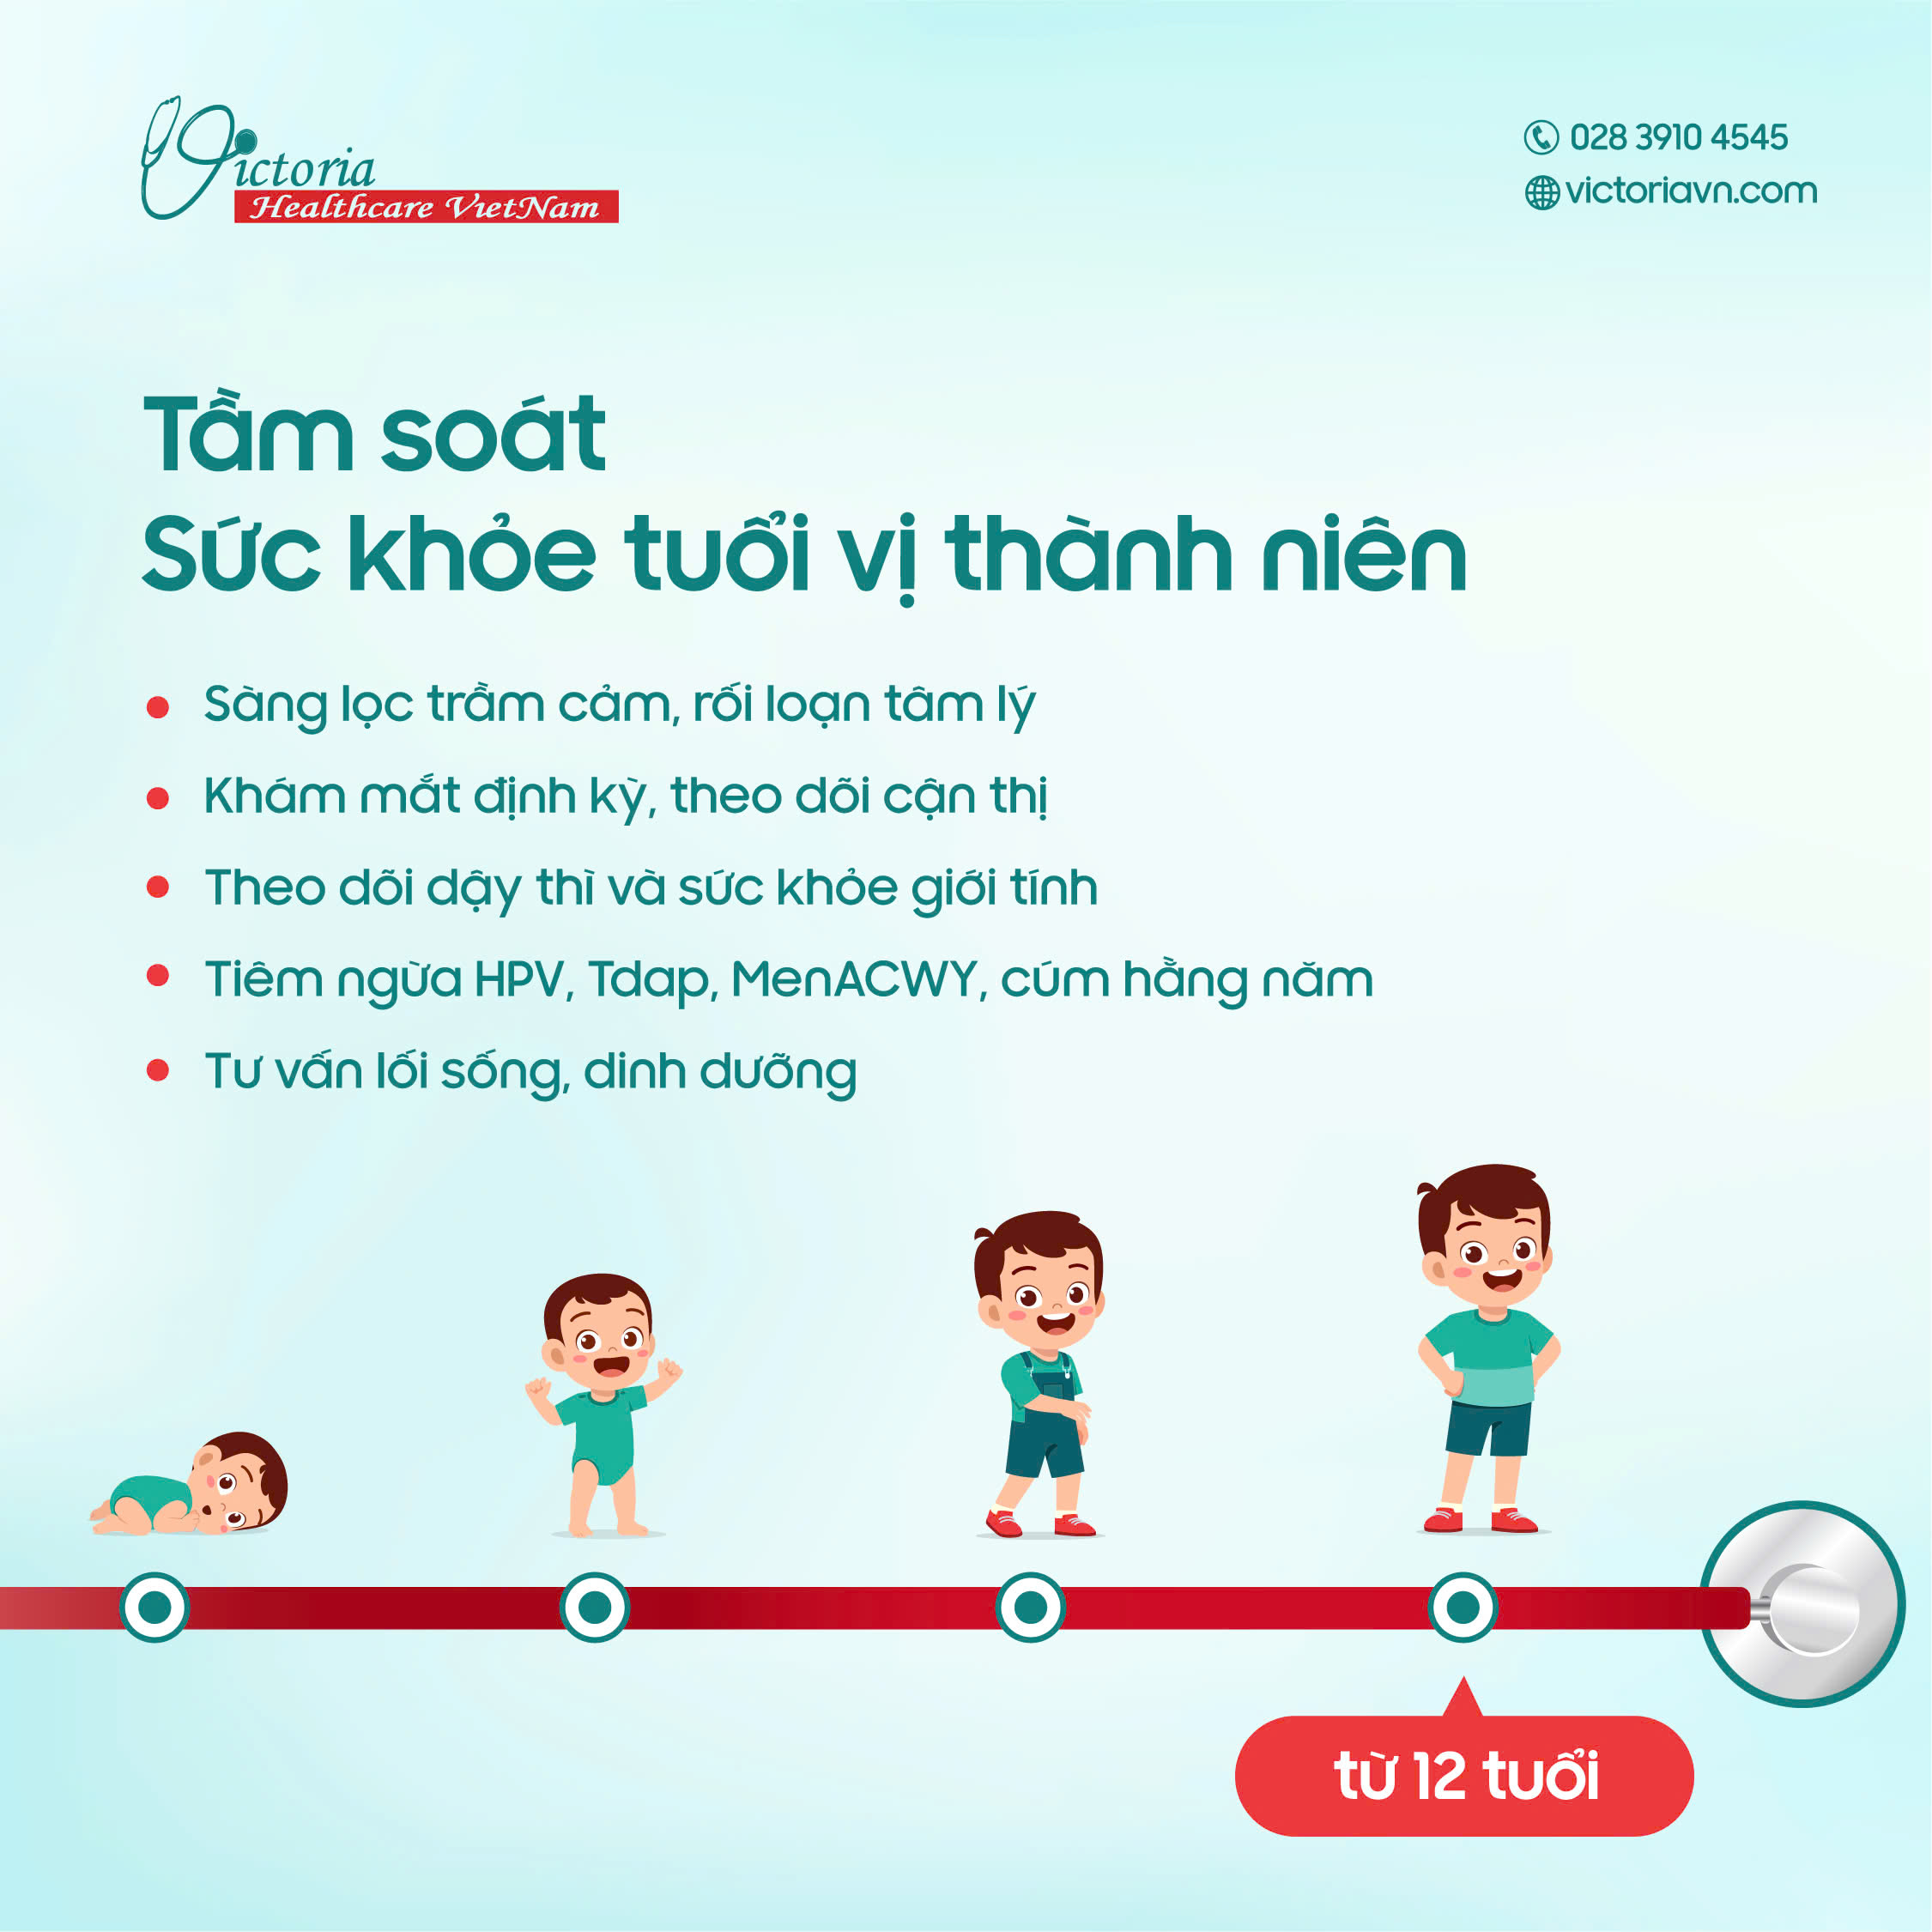
Ở tuổi thiếu niên, thể chất và tâm lý biến đổi nhanh chóng. Lực lượng đặc nhiệm phòng ngừa Hoa Kỳ khuyến cáo nên sàng lọc trầm cảm định kỳ từ 12 tuổi nhằm giảm nguy cơ tự hại, vốn là nguyên nhân tử vong hàng đầu ở nhóm tuổi này.
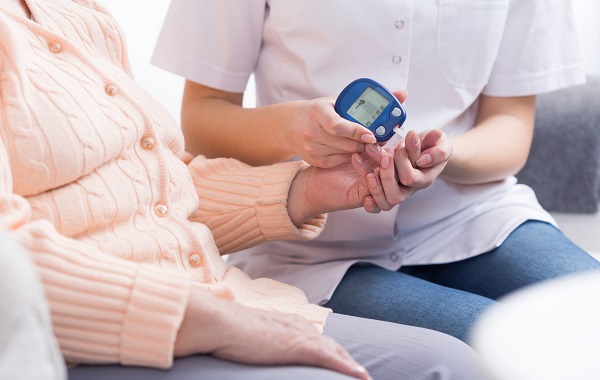
Đây cũng là giai đoạn quan trọng để tiêm vaccine HPV. Trung tâm kiểm soát và phòng ngừa dịch bệnh khuyến cáo tiêm vaccine HPV trong khoảng từ 9 đến 12 tuổi để đạt hiệu quả miễn dịch tối ưu. Bên cạnh đó, Hiệp hội Đái tháo đường Hoa Kỳ năm 2025 khuyến cáo sàng lọc đái tháo đường typ 2 cho trẻ từ 10 tuổi, trường hợp trẻ có thừa cân hoặc yếu tố nguy cơ, phản ánh thực tế bệnh mạn tính ngày càng trẻ hóa.
Khám mắt định kỳ giúp kiểm soát cận thị tiến triển. Tư vấn sức khỏe sinh sản, dinh dưỡng, thể thao và phòng tránh chất gây nghiện cũng là nền tảng quan trọng để trẻ bước vào giai đoạn trưởng thành một cách an toàn và lành mạnh
Khám sức khỏe định kỳ mang lại nhiều giá trị hơn là việc phát hiện bệnh. Phụ huynh có được sự an tâm khi các chỉ số phát triển của con được chứng thực bằng bằng chứng khoa học. Họ cũng được cập nhật liên tục với những khuyến cáo mới nhất thay vì phải dựa vào nguồn tin rời rạc. Đồng thời, quá trình thăm khám trở thành cơ hội để lắng nghe bác sĩ giải thích cụ thể và định hướng cách chăm sóc toàn diện từ giấc ngủ, dinh dưỡng cho đến sức khỏe tinh thần.
Các gói khám Nhi tại Victoria Healthcare được thiết kế dựa trên y học chứng cứ và bám sát khuyến cáo quốc tế của AAP, WHO, CDC, USPSTF và ADA. Mục tiêu không phải làm thêm xét nghiệm mà là thực hiện đúng, thực hiện đủ và minh bạch trong giải thích để phụ huynh yên tâm.
Mỗi buổi hẹn khám vì thế trở thành thời điểm để nhìn rõ hơn bức tranh toàn diện về sức khỏe của trẻ, từ đó điều chỉnh cách chăm sóc hằng ngày và cùng bác sĩ xây dựng nền tảng phát triển bền vững cho con.

| 36 lời khuyên cho thai kỳ khỏe mạnh | |
| 1 | Sử dụng vitamin bầu mỗi ngày |
| 2 | Tập luyện thể thao thường xuyên ( 150 phút/ tuần) |
| 3 | Lập kế hoạch chuẩn bị sanh |
| 4 | Tìm hiểu thông tin khoa học |
| 5 | Thay đổi thói quen (Tránh các chất tẩy rửa vệ sinh độc hại, nâng vác quá nặng) |
| 6 | Theo dõi cân nặng ( tăng trung bình khoảng 12 -15kg ) |
| 7 | Mang giày rộng thoải mái |
| 8 | Ăn thực phẩm giàu folate (bông cải, rau xanh, trái cây) |
| 9 | Ăn thực phẩm giàu canxi (Sữa, cá đóng hộp, rau lá xanh) |
| 10 | Ăn thêm cá (trừ các loại cá có chứa nhiều thủy ngân) |
| 11 | Tăng cường thực phẩm giàu chất xơ |
| 12 | Không ăn phô mai mềm (phô mai không tiệt trùng có thể chứa vi khuẩn gây sốt, sẩy thai, các biến chứng khác trong thai kỳ) |
| 13 | Ăn thêm rau |
| 14 | Ăn 5 – 6 bữa ăn cân bằng mỗi ngày |
| 15 | Không ăn quá nhiều. Khẩu phần ăn chỉ nên tăng thêm 300 – 500 calori mỗi ngày. Nên viết nhật kí khẩu phần ăn |
| 16 | Hạn chế caffein |
| 17 | Uống thêm nước (2000 – 2500mL/ ngày ) |
| 18 | Không uống nước có cồn |
| 19 | Sử dụng kem chống nắng |
| 20 | Không đi máy bay trong trường hợp thai quá sớm hoặc gần ngày sinh |
| 21 | Tránh trực tiếp thay cát mèo (Hạn chế nhiễm toxoplasmosis) |
| 22 | Thi thoảng ăn nhiều hơn bình thường |
| 23 | Nhận biết dấu hiệu nguy hiểm (đau bụng, ra huyết, thai máy ít) |
| 24 | Không hút thuốc, tránh hút thuốc thụ động |
| 25 | Ngủ đủ giấc |
| 26 | Thắt dây an toàn khi đi xe |
| 27 | Tham khảo ý kiến của bác sĩ khi dùng thuốc |
| 28 | Khám răng định kỳ |
| 29 | Tham gia các lớp tiền sản |
| 30 | Hỗ trợ chăm bé nhỏ của người thân và bạn bè để có thêm kinh nghiệm |
| 31 | Tham quan nơi bạn dự định sanh |
| 32 | Thực hành các kỹ thuật thư giãn hằng ngày (yoga, dãn cơ, hít thở sâu, mát xa) |
| 33 | Không dùng thuốc khi không có chỉ định |
| 34 | Luyện tập thể thao, nhưng không quá sức |
| 35 | Giãn cơ trước khi ngủ để ngăn ngừa chuột rút |
| 36 | Lưu giữ hình của bạn khi mang thai và sau khi bé chào đời |
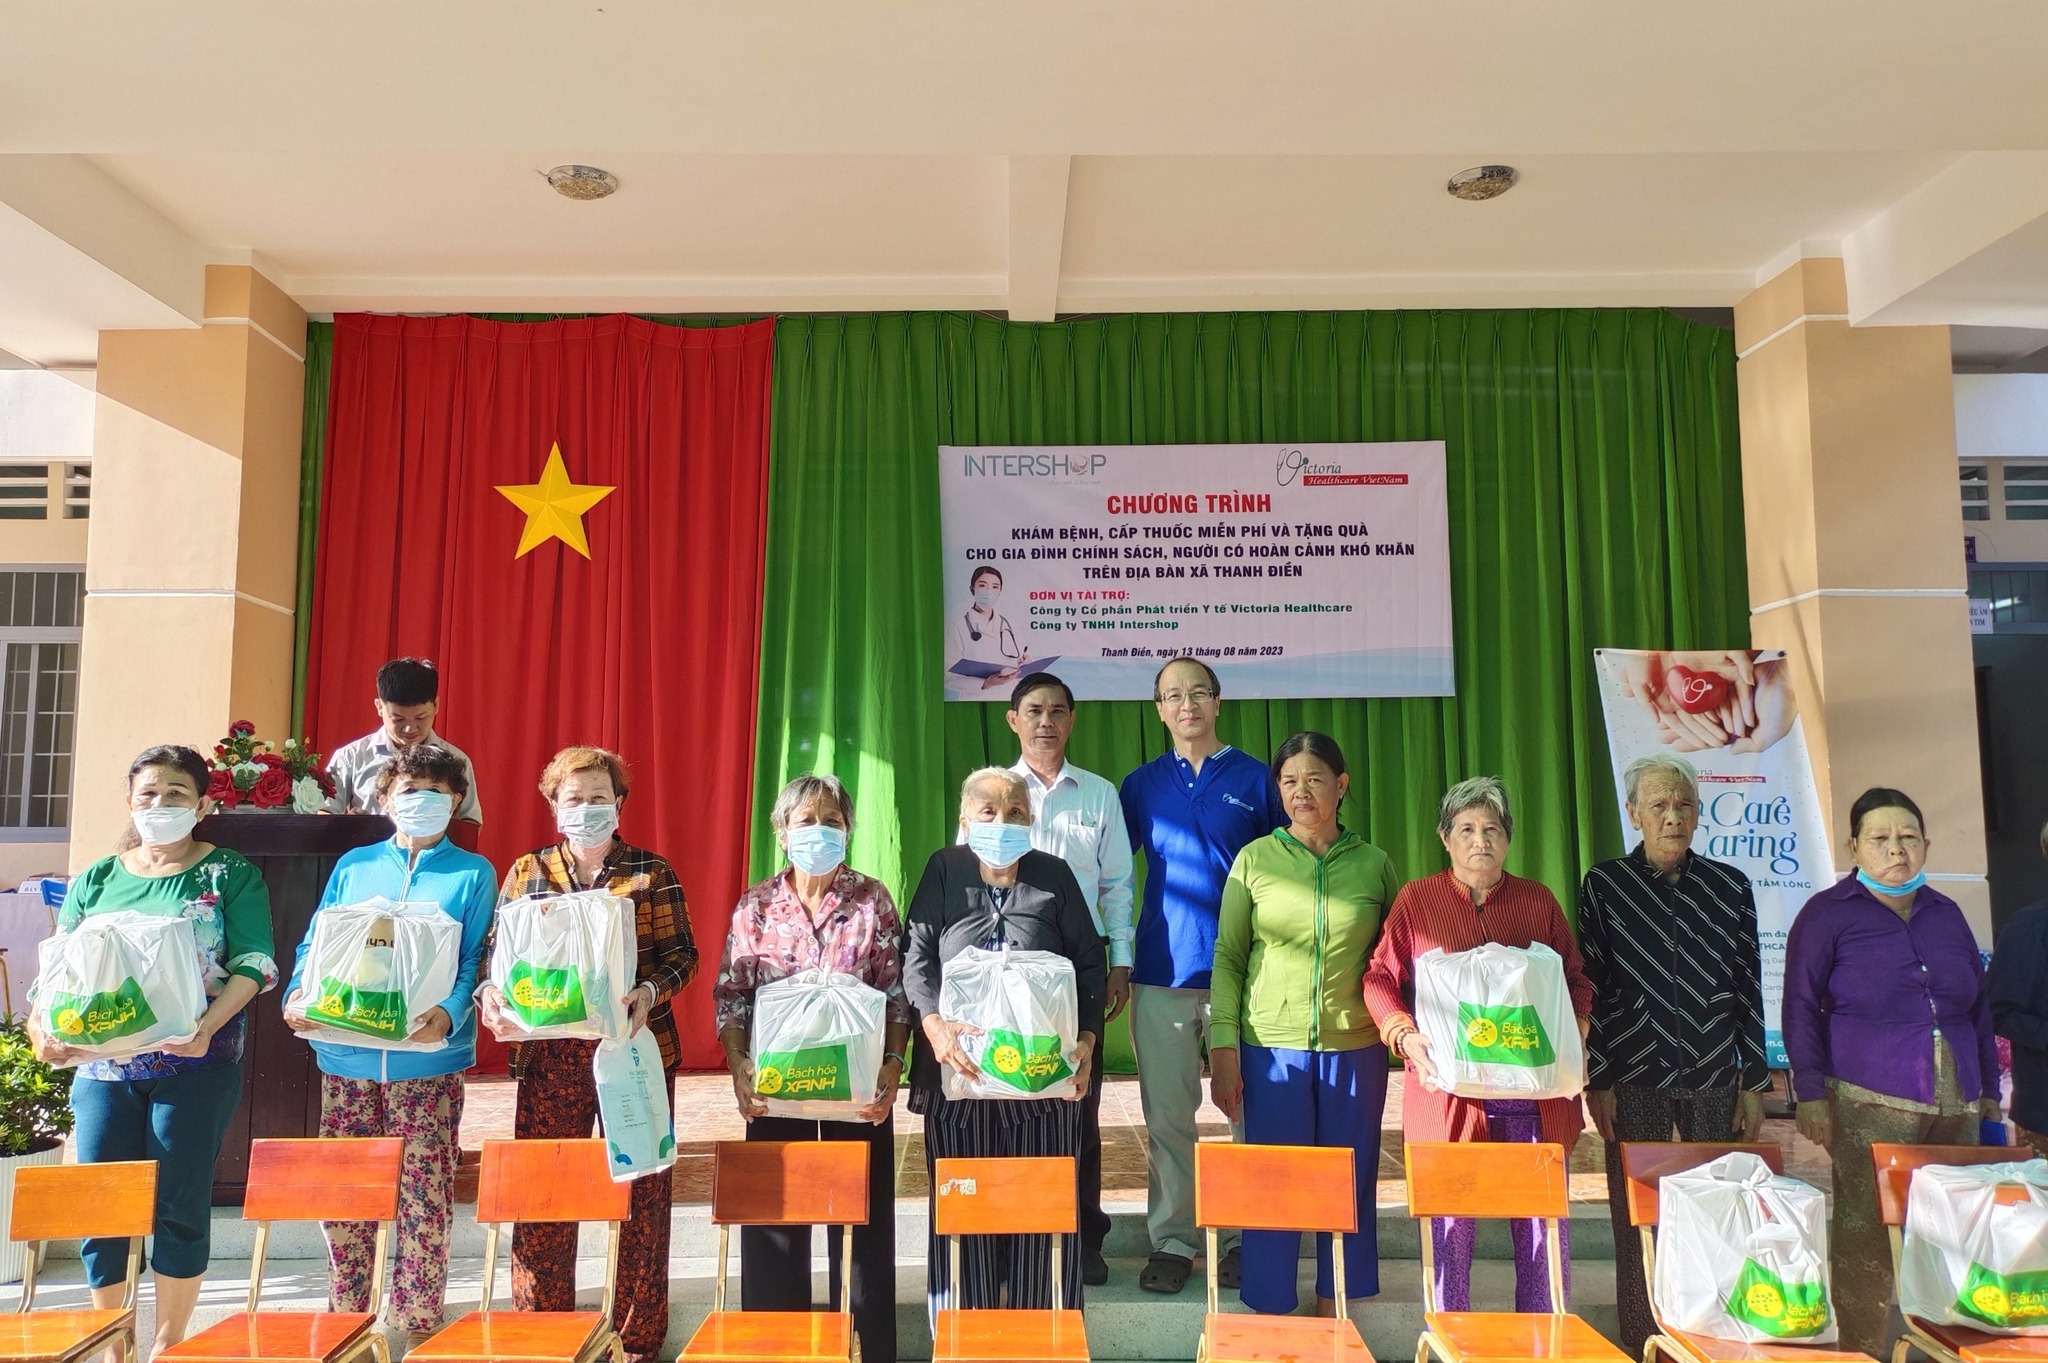
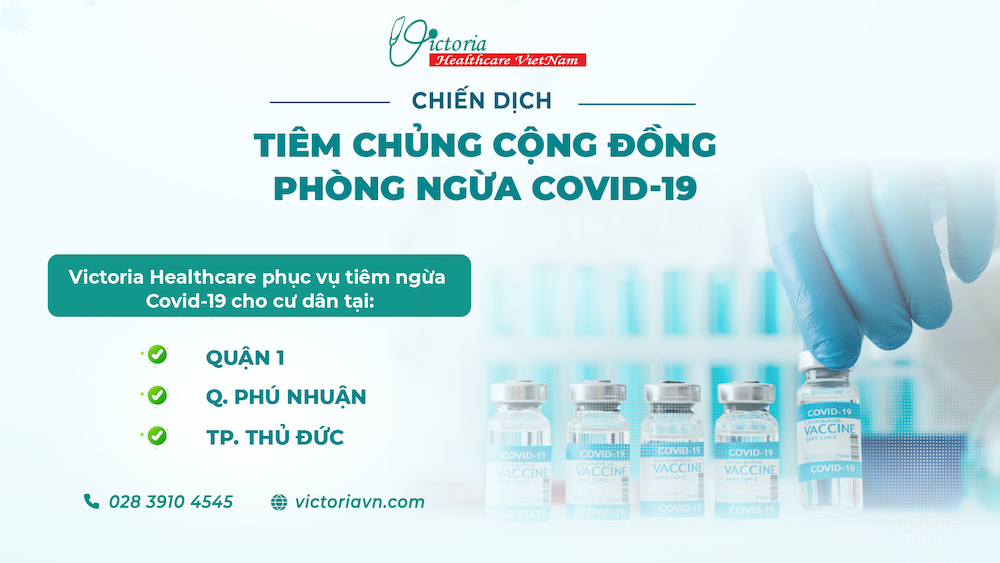
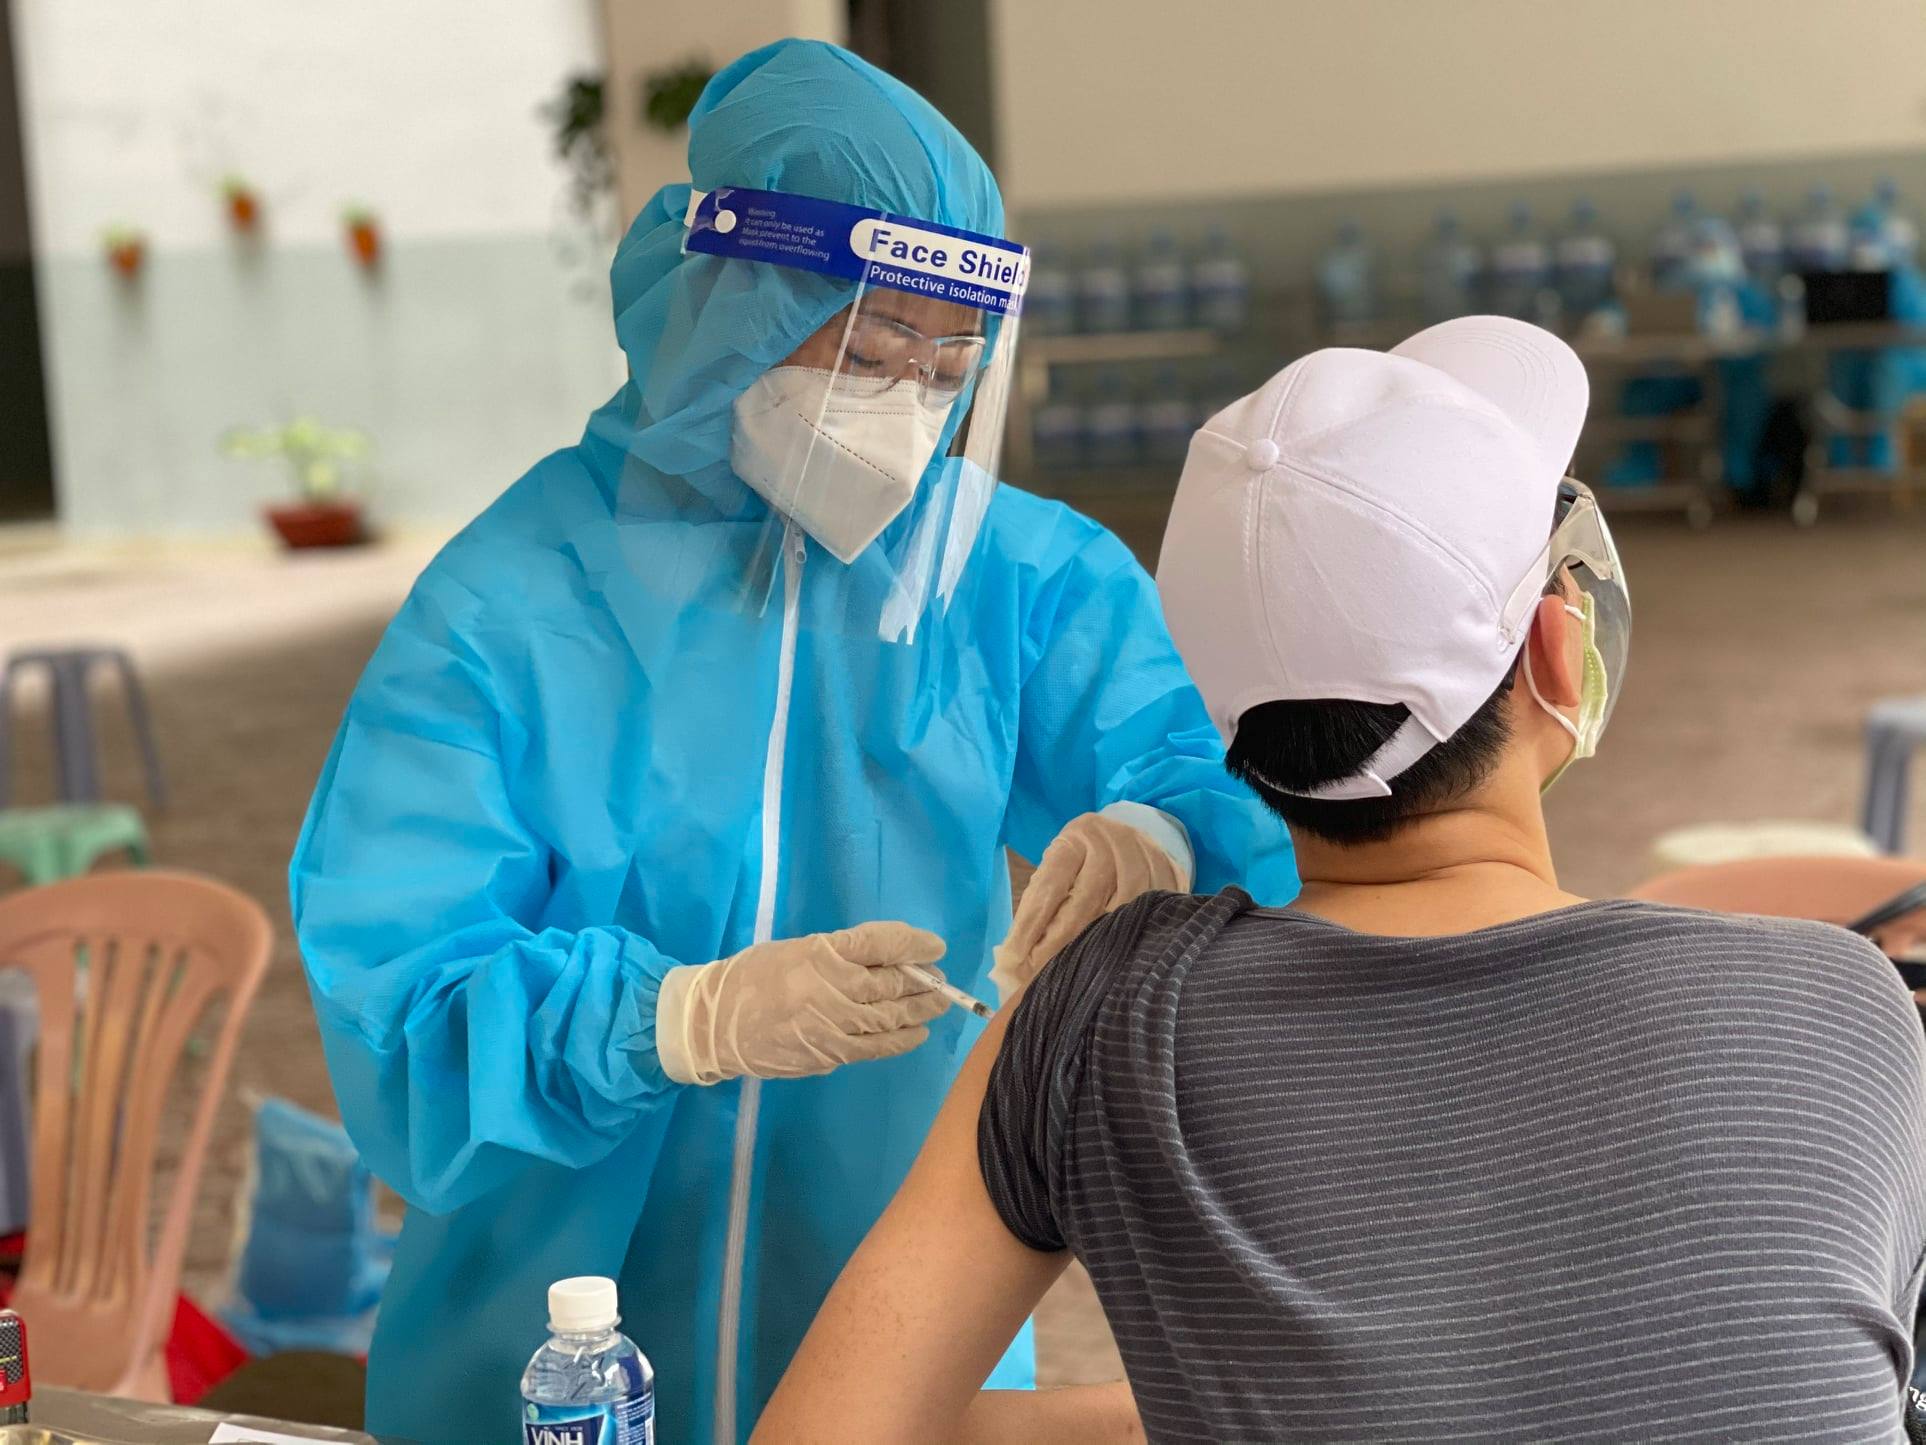
Nhìn từ Đại dịch Covid-19:
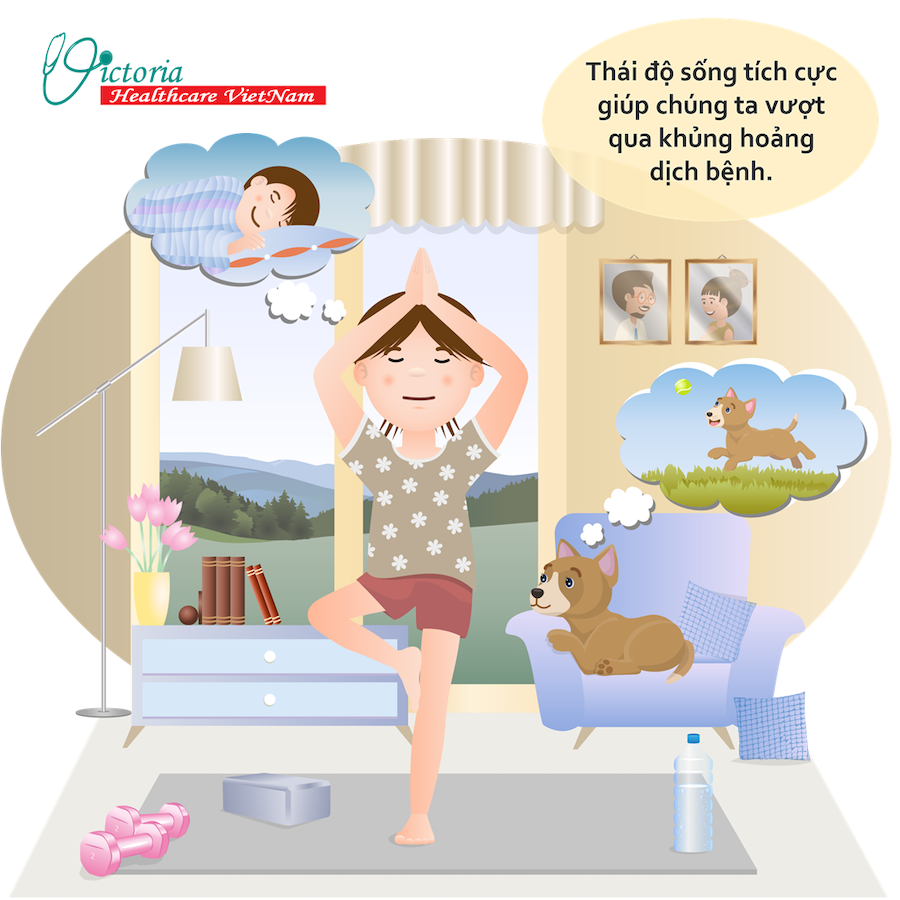
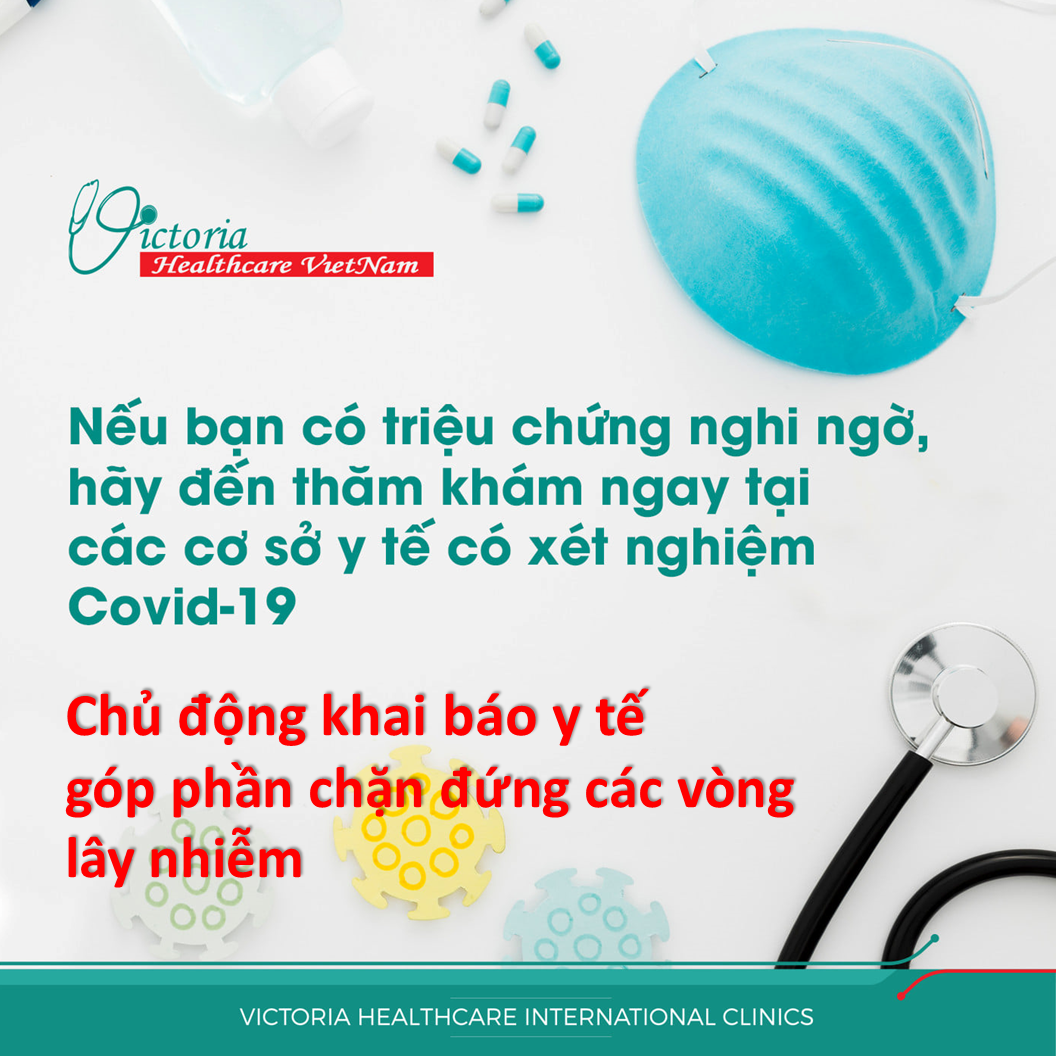
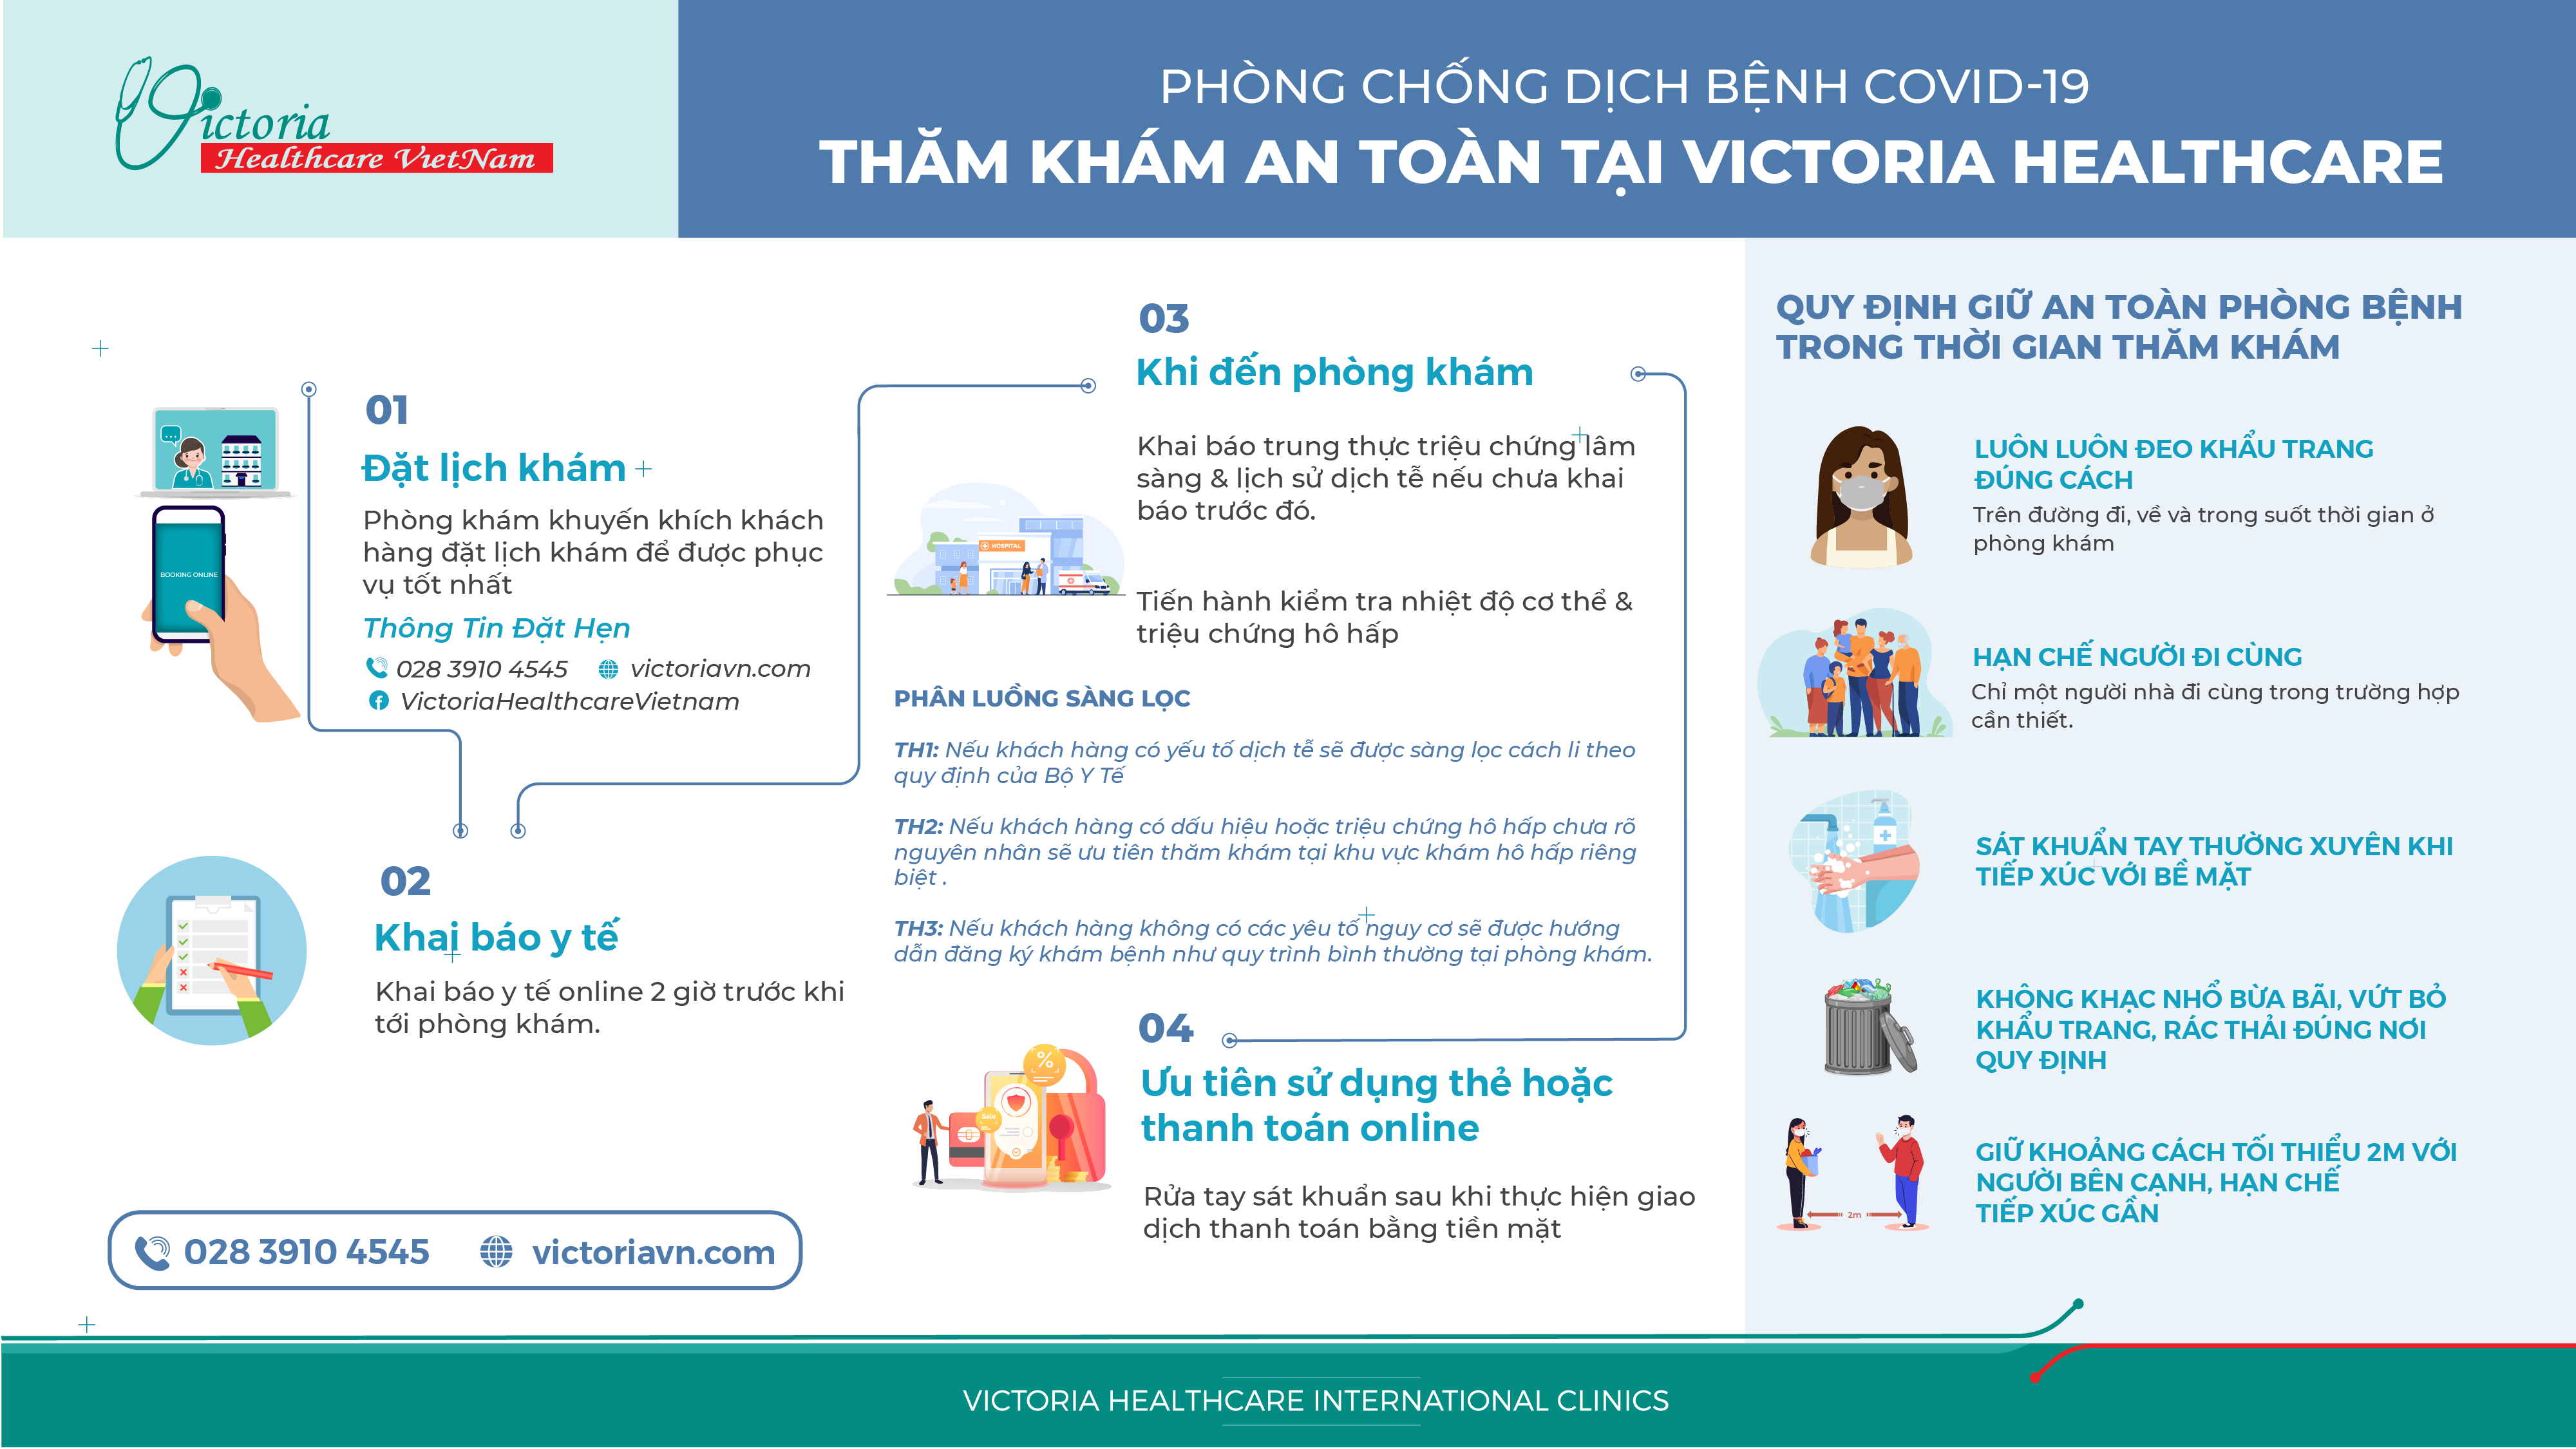
Đến thời điểm hiện tại đại dịch covid đang dần được kiểm soát tốt hơn, thế nhưng nó vẫn gây ảnh hưởng nhất định đối với toàn thế giới. Vì vậy, ngay hôm nay chúng ta cần học cách “sống chung với dịch” một cách an toàn dưới sự hướng dẫn của Bộ Y tế!
Covid vừa là đại dịch nguy hiểm, cũng là cơ hội để mỗi chúng ta nhìn lại, chăm sóc tốt hơn đến sức khỏe, “người bạn thân nhất” của mỗi người. Chúng ta càng cần dành sự quan tâm đến những người thân yêu trong gia đình, đặc biệt là người lớn tuổi và có bệnh nền. Vì đó là nhóm đối tượng suy giảm về sức khỏe và sức đề kháng, có nguy cơ mắc bệnh cao hơn người bình thường, khả năng phục hồi cũng yếu hơn.
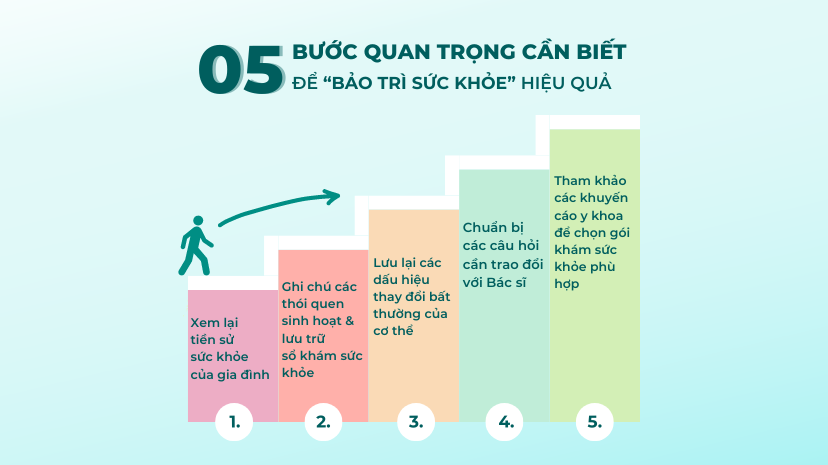
Chính vì thế, chúng ta cần nâng cao nhận thức “bảo trì sức khỏe”, đặt việc kiểm tra sức khỏe định kỳ là “ưu tiên hàng đầu” để chuẩn bị một sức khỏe đầy đủ về thể chất và cả tinh thần. Có như vậy, bản thân và gia đình sẽ vững vàng hơn thích nghi với những biến động trong xã hội hiện nay.
—----------------
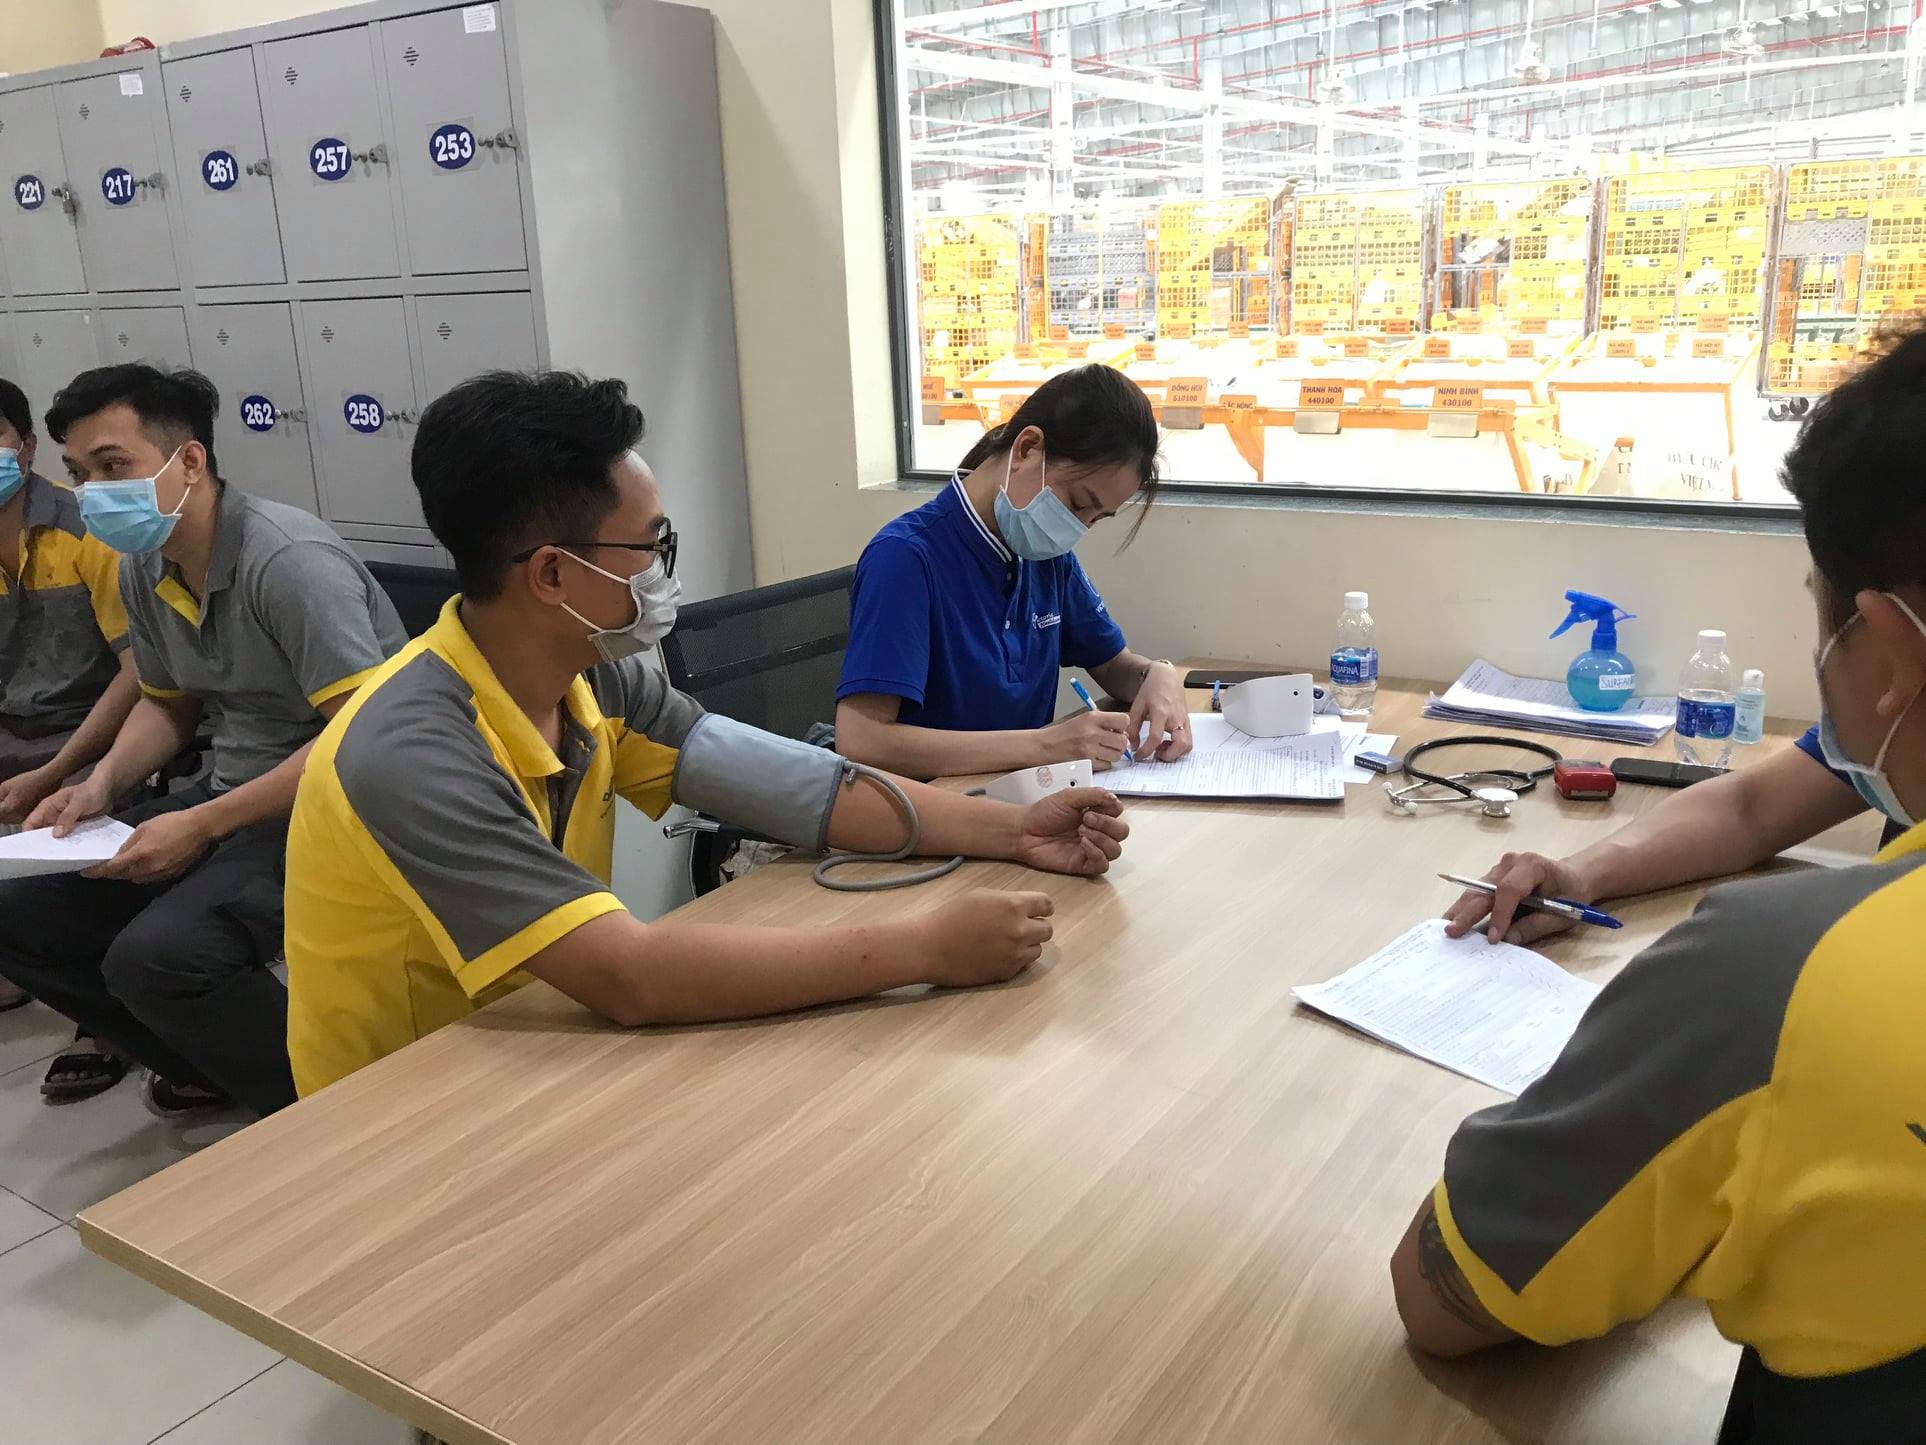
Việc xây dựng thói quen khám sức khỏe định kỳ là điều các chuyên gia y tế thường xuyên khuyến cáo.
Bác sĩ Trần Phương Thảo - Chuyên Khoa Nội Soi Tiêu Hóa tại Hệ thống phòng khám Victoria Healthcare đã chia sẻ một số thông tin lưu ý về các nguy cơ từ thói quen sinh hoạt hàng ngày và một số vấn đề về tầm soát ung thư thường gặp theo độ tuổi.
Còn điều gì quan trọng hơn một cơ thể khỏe mạnh? Sức khỏe là điều chúng ta cần quan tâm và chăm sóc thật kỹ càng. Thật đó! Chính những thói quen nhỏ nhất hàng ngày sẽ góp phần tạo nên lối sống của chúng ta. Duy trì một lối sống lành mạnh là nền tảng vững chắc cho một sức khỏe tốt, để sẵn sàng thích nghi và đề kháng với bệnh tật.
Thay đổi có thể thấy được mỗi ngày mọi người ạ…
Kệ con covid-19 đi, cứ phải bước tiếp và chủ động quan tâm sức khỏe của bản thân và những người ta yêu thương.
KHÔNG THƯƠNG YÊU VÀ QUAN TÂM TỪ NGÀY HÔM NAY - THÌ ĐẾN KHI NÀO?
Chúng Tôi Là Ai
Trở thành nhà tiên phong,
chăm sóc sức khỏe cho người Việt.
Mang đến dịch vụ chăm sóc y tế tận tâm,
chất lượng cao với chi phí hợp lý cho người Việt.
Giá trị dịch vụ được cam kết bởi sự chăm sóc đối với bệnh nhân.
Để duy trì và phát huy tinh thần và giá trị đó, Victoria Healthcare đã đào tạo, định hướng đội ngũ bác sĩ và nhân viên y tế luôn cùng nhau làm việc trên cơ sở nền tảng văn hóa dịch vụ:
Cải tiến không ngừng quy trình và chất lượng chăm sóc y tế.
Áp dụng kỹ thuật và kiến thức chăm sóc y tế tiến bộ.
Rèn luyện văn hóa chăm sóc bệnh nhân bằng sự thấu hiểu, đồng cảm.
Ekíp bác sĩ được đào tạo liên tục và cam kết thực hành y khoa trên nền tảng y học chứng cứ.
TỪ BLOG
By Victoria Healthcare08 Tháng 4 2026

By Victoria Healthcare01 Tháng 4 2026
By Victoria Healthcare27 Tháng 3 2026

By Minh Luan17 Tháng 3 2026

By Victoria Healthcare16 Tháng 3 2026
By Victoria Healthcare11 Tháng 3 2026

By Victoria Healthcare07 Tháng 3 2026
By Victoria Healthcare10 Tháng 2 2026
By Victoria Healthcare09 Tháng 12 2025

By Victoria Healthcare06 Tháng 11 2025

By Victoria Healthcare27 Tháng 10 2025

By Victoria Healthcare23 Tháng 10 2025

By Victoria Healthcare22 Tháng 10 2025
By Victoria Healthcare22 Tháng 9 2025

By Victoria Healthcare05 Tháng 9 2025

By Victoria Healthcare18 Tháng 8 2025
By Victoria Healthcare05 Tháng 8 2025
By Victoria Healthcare10 Tháng 7 2025

By Victoria Healthcare08 Tháng 7 2025
By Victoria Healthcare12 Tháng 6 2025

By Victoria Healthcare10 Tháng 6 2025

By Victoria Healthcare28 Tháng 5 2025

By Victoria Healthcare27 Tháng 5 2025
By Victoria Healthcare15 Tháng 5 2025
By Victoria Healthcare12 Tháng 5 2025

By Victoria Healthcare09 Tháng 4 2025
By Victoria Healthcare08 Tháng 4 2025
By Victoria Healthcare28 Tháng 2 2025
By Victoria Healthcare01 Tháng 1 2025

By Victoria Healthcare30 Tháng 10 2024
By 18 Tháng 10 2024
By Victoria Healthcare06 Tháng 8 2024
By 15 Tháng 7 2024

By Victoria Healthcare13 Tháng 5 2024
By Victoria Healthcare10 Tháng 5 2024

By Victoria Healthcare06 Tháng 5 2024

By Victoria Healthcare03 Tháng 5 2024

By Victoria Healthcare24 Tháng 4 2024

By Victoria Healthcare07 Tháng 4 2024
By Victoria Healthcare30 Tháng 3 2024

By Victoria Healthcare18 Tháng 3 2024

By Victoria Healthcare08 Tháng 3 2024
By Victoria Healthcare29 Tháng 2 2024

By Victoria Healthcare07 Tháng 2 2024

By Victoria Healthcare18 Tháng 1 2024
By Victoria Healthcare27 Tháng 12 2023
By Victoria Healthcare19 Tháng 12 2023

By Victoria Healthcare05 Tháng 12 2023

By Victoria Healthcare15 Tháng 11 2023

By Victoria Healthcare09 Tháng 11 2023
By Victoria Healthcare04 Tháng 11 2023

By Victoria Healthcare22 Tháng 10 2023

By Victoria Healthcare19 Tháng 10 2023

By Victoria Healthcare08 Tháng 10 2023
By Victoria Healthcare05 Tháng 10 2023

By Victoria Healthcare04 Tháng 10 2023
By Victoria Healthcare30 Tháng 9 2023
By Victoria Healthcare21 Tháng 9 2023

By Victoria Healthcare20 Tháng 9 2023
By Victoria Healthcare15 Tháng 9 2023
By Victoria Healthcare12 Tháng 9 2023
By Victoria Healthcare11 Tháng 9 2023

By Victoria Healthcare03 Tháng 9 2023
By 01 Tháng 3 2023
By 10 Tháng 2 2023

By 05 Tháng 1 2023

By 07 Tháng 12 2022

By 23 Tháng 11 2022
By 09 Tháng 11 2022

By 03 Tháng 11 2022

By 18 Tháng 10 2022

By 05 Tháng 10 2022

By 30 Tháng 9 2022
By Victoria Healthcare14 Tháng 9 2022

By 26 Tháng 8 2022

By 08 Tháng 8 2022

By 04 Tháng 8 2022
By 15 Tháng 7 2022

By 13 Tháng 7 2022

By 12 Tháng 7 2022

By 08 Tháng 7 2022

By Victoria Healthcare03 Tháng 3 2022
By 10 Tháng 2 2022
By 01 Tháng 2 2022
By 28 Tháng 11 2021
By 28 Tháng 11 2021
By 21 Tháng 11 2021

By 19 Tháng 11 2021
By 10 Tháng 11 2021

By 08 Tháng 11 2021
By 01 Tháng 11 2021
By 01 Tháng 11 2021
By 27 Tháng 10 2021

By 18 Tháng 10 2021
By 12 Tháng 10 2021
By 07 Tháng 10 2021

By 05 Tháng 10 2021

By 01 Tháng 10 2021

By 01 Tháng 10 2021
By 16 Tháng 9 2021

By 15 Tháng 9 2021

By 28 Tháng 7 2021

By 28 Tháng 7 2021
By 19 Tháng 7 2021

By 09 Tháng 7 2021

By 02 Tháng 7 2021

By 07 Tháng 6 2021
By 27 Tháng 5 2021
By 17 Tháng 5 2021
By 14 Tháng 5 2021
By 12 Tháng 5 2021
By 10 Tháng 5 2021

By 04 Tháng 5 2021
By 19 Tháng 4 2021
By 12 Tháng 4 2021

By 05 Tháng 4 2021
By 02 Tháng 4 2021

By 02 Tháng 4 2021

By 19 Tháng 3 2021
By 15 Tháng 3 2021
By 11 Tháng 3 2021
By 11 Tháng 3 2021
By 09 Tháng 3 2021
By 03 Tháng 3 2021
By 03 Tháng 3 2021

By 28 Tháng 1 2021

By 02 Tháng 11 2020
By 02 Tháng 11 2020

By 05 Tháng 10 2020
![[THINK PINK - WEAR PINK] - LAN TỎA SẮC HỒNG](/images/uudai/z2107864419220_cfacc2d7fdec90661b6f81ffc2643021.jpg)
By 05 Tháng 10 2020

By 01 Tháng 9 2020

By 14 Tháng 8 2020

By 04 Tháng 8 2020
By 03 Tháng 8 2020

By 10 Tháng 7 2020

By 01 Tháng 7 2020
By 23 Tháng 6 2020
By 05 Tháng 6 2020
By 29 Tháng 5 2020
By 27 Tháng 5 2020
By 18 Tháng 5 2020

By 07 Tháng 5 2020
By 06 Tháng 4 2020
By 06 Tháng 4 2020
By 01 Tháng 4 2020
By 31 Tháng 3 2020
By 28 Tháng 3 2020
By 21 Tháng 2 2020

By 17 Tháng 2 2020
By 21 Tháng 1 2020

By 06 Tháng 1 2020
By 14 Tháng 11 2019
By 30 Tháng 10 2019

By 17 Tháng 10 2019

By 16 Tháng 10 2019

By 30 Tháng 9 2019
By 05 Tháng 9 2019

By 31 Tháng 7 2019
By 05 Tháng 6 2019
By 30 Tháng 5 2019

By 03 Tháng 5 2019
By 17 Tháng 4 2019

By 17 Tháng 4 2019

By 17 Tháng 4 2019
![[Tuần lễ khai xuân 2019]: SỨC KHỎE DỒI DÀO - ƯU ĐÃI NHÂN ĐÔI](/images/uudai/BANNER_-_TVC.png)
By 17 Tháng 4 2019
By 17 Tháng 4 2019
By Victoria Healthcare28 Tháng 7 2026
By Victoria Healthcare07 Tháng 7 2026

By Victoria Healthcare30 Tháng 6 2026
By Victoria Healthcare25 Tháng 6 2026

By Victoria Healthcare22 Tháng 6 2026
By Victoria Healthcare15 Tháng 6 2026
By Victoria Healthcare11 Tháng 6 2026
By Victoria Healthcare02 Tháng 6 2026

By Victoria Healthcare29 Tháng 5 2026
By Victoria Healthcare22 Tháng 5 2026

By Victoria Healthcare20 Tháng 5 2026
By Victoria Healthcare18 Tháng 5 2026
By Victoria Healthcare14 Tháng 5 2026

By Victoria Healthcare12 Tháng 5 2026
By Victoria Healthcare07 Tháng 5 2026

By Victoria Healthcare28 Tháng 4 2026

By Victoria Healthcare22 Tháng 4 2026

By Victoria Healthcare21 Tháng 4 2026

By 06 Tháng 4 2026
By 24 Tháng 3 2026

By Victoria Healthcare24 Tháng 3 2026

By Victoria Healthcare25 Tháng 2 2026
By 09 Tháng 2 2026
By Victoria Healthcare04 Tháng 2 2026
By Victoria Healthcare04 Tháng 2 2026
By Victoria Healthcare27 Tháng 1 2026

By Victoria Healthcare19 Tháng 1 2026

By Victoria Healthcare26 Tháng 12 2025

By Victoria Healthcare23 Tháng 12 2025
By Victoria Healthcare17 Tháng 12 2025
By Victoria Healthcare05 Tháng 12 2025
By Victoria Healthcare01 Tháng 12 2025
By Victoria Healthcare28 Tháng 11 2025
By Victoria Healthcare27 Tháng 11 2025
By Victoria Healthcare17 Tháng 11 2025
By Victoria Healthcare20 Tháng 10 2025
By Victoria Healthcare16 Tháng 10 2025

By Victoria Healthcare15 Tháng 10 2025

By Victoria Healthcare10 Tháng 9 2025
By Victoria Healthcare04 Tháng 9 2025
By Victoria Healthcare29 Tháng 8 2025

By Victoria Healthcare26 Tháng 8 2025
![[NHẬT KÝ BÁC SĨ] KHÁM KỸ TỪNG DẤU HIỆU - BÉ MỠ THOÁT KHÁNG SINH VÀ NHẬP VIỆN](/images/Thumbnail_NKBS_BS_Thúy_Anh.png)
By Victoria Healthcare20 Tháng 8 2025
By Victoria Healthcare18 Tháng 8 2025
By Victoria Healthcare15 Tháng 8 2025

By Victoria Healthcare11 Tháng 8 2025
By Victoria Healthcare06 Tháng 8 2025

By Victoria Healthcare04 Tháng 8 2025

By Victoria Healthcare01 Tháng 8 2025
![[NHẬT KÝ BÁC SĨ] SÁNG NAY “BÉ MÈO” PHÁT BAN RỒI, ĐỎ HỒNG NHƯ MÈO BÔNG - ĐÚNG NHƯ BÁC SĨ NÓI!](/images/Thumbnail_NKBS_bé_mèo_phát_ban.png)
By Victoria Healthcare01 Tháng 8 2025
By Victoria Healthcare31 Tháng 7 2025

By Victoria Healthcare28 Tháng 7 2025

By Victoria Healthcare28 Tháng 7 2025
By Victoria Healthcare22 Tháng 7 2025
By Victoria Healthcare21 Tháng 7 2025

By Victoria Healthcare21 Tháng 7 2025

By Victoria Healthcare20 Tháng 7 2025

By Victoria Healthcare10 Tháng 7 2025
By Victoria Healthcare10 Tháng 7 2025
![[NHẬT KÝ BÁC SĨ] CẤP CỨU TRÊN CHUYẾN BAY](/images/Thumbnail_NKBS_-_BS_Hồng_An_Tháng_7.png)
By Victoria Healthcare08 Tháng 7 2025
By Victoria Healthcare03 Tháng 7 2025

By Victoria Healthcare20 Tháng 6 2025
![[Nhật ký bác sĩ] Điều trị cho con cũng là điều trị tâm lý cho mẹ](/images/64fe8dd0c4bf73e12aae.jpg)
By Victoria Healthcare18 Tháng 6 2025

By Victoria Healthcare12 Tháng 6 2025
By Victoria Healthcare10 Tháng 6 2025
By Victoria Healthcare09 Tháng 6 2025
By Victoria Healthcare28 Tháng 5 2025
By Victoria Healthcare22 Tháng 5 2025
By Victoria Healthcare20 Tháng 5 2025

By Victoria Healthcare28 Tháng 4 2025

By Victoria Healthcare17 Tháng 4 2025
By Victoria Healthcare15 Tháng 4 2025
By Victoria Healthcare14 Tháng 4 2025

By Victoria Healthcare11 Tháng 4 2025
By Victoria Healthcare04 Tháng 4 2025
By Victoria Healthcare04 Tháng 4 2025

By Victoria Healthcare19 Tháng 3 2025

By Victoria Healthcare18 Tháng 3 2025

By Victoria Healthcare22 Tháng 1 2025
By Victoria Healthcare31 Tháng 12 2024
By Victoria Healthcare31 Tháng 12 2024
![[Nhật ký bác sĩ] KHI SỨC KHỎE LÀ MÓN QUÀ QUÝ GIÁ DÀNH TẶNG NGƯỜI THÂN](/images/Zalo_thumbnail_828_x_465_px_22.png)
By Victoria Healthcare06 Tháng 12 2024
By Victoria Healthcare05 Tháng 12 2024
By Victoria Healthcare27 Tháng 11 2024

By Victoria Healthcare08 Tháng 11 2024
By Victoria Healthcare09 Tháng 9 2024

By Victoria Healthcare26 Tháng 8 2024

By Victoria Healthcare01 Tháng 7 2024
By Victoria Healthcare26 Tháng 6 2024

By Victoria Healthcare30 Tháng 5 2024

By Victoria Healthcare08 Tháng 5 2024
By Victoria Healthcare25 Tháng 4 2024
By Victoria Healthcare21 Tháng 4 2024
By Victoria Healthcare15 Tháng 4 2024
By Victoria Healthcare15 Tháng 4 2024
By Victoria Healthcare13 Tháng 4 2024
By Victoria Healthcare12 Tháng 4 2024
By Victoria Healthcare04 Tháng 4 2024
By Victoria Healthcare27 Tháng 3 2024
By Victoria Healthcare26 Tháng 3 2024
By Victoria Healthcare18 Tháng 3 2024
By Victoria Healthcare22 Tháng 2 2024

By Victoria Healthcare15 Tháng 2 2024
By Victoria Healthcare05 Tháng 2 2024
By Victoria Healthcare01 Tháng 2 2024
By Victoria Healthcare25 Tháng 1 2024
By Victoria Healthcare12 Tháng 1 2024
By Victoria Healthcare11 Tháng 1 2024
By Victoria Healthcare04 Tháng 1 2024
By Victoria Healthcare25 Tháng 12 2023
By Victoria Healthcare13 Tháng 11 2023
By Victoria Healthcare27 Tháng 10 2023
By Victoria Healthcare27 Tháng 9 2023
By 20 Tháng 8 2023

By Victoria Healthcare07 Tháng 8 2023
By 28 Tháng 7 2023

By 12 Tháng 7 2023

By 10 Tháng 7 2023

By 01 Tháng 7 2023
By 24 Tháng 6 2023
By 23 Tháng 6 2023
By 21 Tháng 6 2023

By 15 Tháng 6 2023

By 08 Tháng 6 2023
By 06 Tháng 6 2023

By 02 Tháng 6 2023

By 15 Tháng 5 2023

By 15 Tháng 5 2023

By 14 Tháng 5 2023

By 12 Tháng 5 2023
By 08 Tháng 5 2023
By 25 Tháng 4 2023
By 18 Tháng 4 2023
By 17 Tháng 4 2023
By 11 Tháng 4 2023
By 06 Tháng 4 2023
By 31 Tháng 3 2023
By 28 Tháng 3 2023

By 08 Tháng 3 2023

By 06 Tháng 3 2023
By 06 Tháng 3 2023
By 23 Tháng 2 2023
By 20 Tháng 2 2023

By 13 Tháng 2 2023
By 10 Tháng 2 2023
By 03 Tháng 2 2023
By 19 Tháng 1 2023
By 17 Tháng 1 2023

By 13 Tháng 1 2023
By 04 Tháng 1 2023
By 30 Tháng 12 2022
By 22 Tháng 12 2022
By 22 Tháng 12 2022
By 19 Tháng 12 2022

By 19 Tháng 12 2022
By 06 Tháng 12 2022
By 05 Tháng 12 2022
By 29 Tháng 11 2022
By 23 Tháng 11 2022

By 09 Tháng 11 2022
By 04 Tháng 11 2022
By 24 Tháng 10 2022

By 19 Tháng 10 2022
By 07 Tháng 10 2022
By 04 Tháng 10 2022

By 29 Tháng 9 2022

By 22 Tháng 9 2022
By 21 Tháng 9 2022

By 09 Tháng 9 2022
By 26 Tháng 8 2022
By 17 Tháng 8 2022
By Victoria Healthcare16 Tháng 8 2022

By 15 Tháng 8 2022
By 10 Tháng 8 2022
By 04 Tháng 8 2022
By 01 Tháng 8 2022
By 01 Tháng 8 2022
![[Thông điệp bác sĩ] TỪNG NĂM QUÝ GIÁ !!!](/images/thong_diep.png)
By 20 Tháng 7 2022

By 15 Tháng 7 2022
By 15 Tháng 7 2022

By 07 Tháng 7 2022

By 05 Tháng 7 2022
![[THÔNG ĐIỆP BÁC SĨ] - LÀM PHIỀN CON CHÁU](/images/Add_a_heading_1.jpg)
By 07 Tháng 6 2022
![[THÔNG ĐIỆP BÁC SĨ] - GIẬN...](/images/Add_a_heading.jpg)
By 19 Tháng 5 2022

By 10 Tháng 5 2022
![[THÔNG ĐIỆP BÁC SĨ] -](/images/Vì_sao_các_Bác_sĩ_và_chuyên_gia_khuyến_nghị.jpg)
By 09 Tháng 5 2022

By 26 Tháng 4 2022

By 25 Tháng 4 2022

By 22 Tháng 7 2021
By 16 Tháng 6 2021
By 10 Tháng 6 2021
By 19 Tháng 5 2021

By 10 Tháng 5 2021

By 07 Tháng 9 2020
By 04 Tháng 9 2020
By 03 Tháng 9 2020
![[THÔNG ĐIỆP BÁC SĨ] -](/images/thuviensuckhoe/118474808_997133954058826_1823497381040091096_o.jpg)
By 28 Tháng 8 2020
![[THÔNG ĐIỆP BÁC SĨ] “KHÔNG THƯƠNG YÊU VÀ QUAN TÂM TỪ NGÀY HÔM NAY - THÌ ĐẾN KHI NÀO?](/images/thuviensuckhoe/118192462_996448054127416_954920422855492244_o.jpg)
By 28 Tháng 8 2020
By 02 Tháng 8 2020
By 28 Tháng 7 2020
By 28 Tháng 7 2020
By 22 Tháng 7 2020
By 22 Tháng 7 2020
By 16 Tháng 6 2020
By 16 Tháng 3 2020
By 10 Tháng 3 2020
By 24 Tháng 2 2020

By 20 Tháng 2 2020

By 18 Tháng 2 2020
By 18 Tháng 2 2020
By 31 Tháng 1 2020

By 17 Tháng 11 2019
By 09 Tháng 10 2019

By 05 Tháng 9 2019
By 05 Tháng 9 2019
By 05 Tháng 9 2019

By 05 Tháng 9 2019
By 16 Tháng 8 2019

By 12 Tháng 8 2019
By 12 Tháng 8 2019
By 10 Tháng 8 2019

By 02 Tháng 8 2019

By Victoria Healthcare06 Tháng 10 2025

By Victoria Healthcare17 Tháng 11 2024
By Victoria Healthcare24 Tháng 10 2024
By Victoria Healthcare12 Tháng 9 2024

By 04 Tháng 7 2024

By Victoria Healthcare12 Tháng 6 2024
By Victoria Healthcare08 Tháng 5 2024
By Victoria Healthcare10 Tháng 1 2024
By Victoria Healthcare25 Tháng 12 2023

By Victoria Healthcare03 Tháng 11 2023

By Victoria Healthcare18 Tháng 8 2023
By Victoria Healthcare14 Tháng 8 2023
By 16 Tháng 8 2022
By 05 Tháng 8 2021
By 04 Tháng 8 2021
By 04 Tháng 8 2021

![[Tin tức]: Chương trình khám bệnh thiện nguyện](/images/HOATDONGXAHOI/banner_tu_thien.png)
By 20 Tháng 6 2019
By 13 Tháng 5 2019
By 13 Tháng 5 2019
By 17 Tháng 4 2019
By 16 Tháng 4 2019